Tuesday, February 4, 2014
Forever and Always by Deanna M
My image was cut using my Cricut Expression and the Love Struck cartridge at 4". After adhering the two layers together with some Scotch Quick Dry Adhesive I sprayed it with some Iridescent Glitter Dust. I adhered it to my card front with some foam squares.
My sentiment was stamped with Memento Love Letter ink (my new favorite red). This can be ordered for you, just ask. Finally I added some red pearls to the sentiment mat. Thanks for stopping by.
Thursday, January 30, 2014
Howdy-Do! By Fran
I really had fun coloring this image by Sassy Cheryl called a Simple Bunch of Flowers. It was not hard to keep a smile on your face while coloring her. Let me know what you think.
(Click on photo for a larger view)
Details: Card base is 5-3/4” square. The shape of the card was cut using a Silhouette Portrait. Card base is made from Bazzill Basics, Simply Smooth White. The remaining papers are from my stash. The image was colored using Inktense Paint Pencils and Copic markers for the skin (E00, Eo1, E11, & R20) my favorite colors for skin). The buttons on the dress and shoes were accented with Enamel Accents (dimensional faux enamel) made by Inkssentials, Ranger. I used a Crop-A-Dile Corner Chomper (Deco) to create the corners of the image. The rosette and button was cut using the Silhouette and the button is decorated with stickles and Scrappers Twine. The sentiment was created on the computer and then cut to create the banner. And I used Distress Ink to the edges of the banner. On the image I used Glossy Accents to the centers of both flowers. And some Wink of Stella Clear Glitter.
Supplies: Bazzill Basics Paper
I hope my card gave you some inspiration to do some coloring using digital images or your stamps. To me coloring is so relaxing.
If there are any products noted in the Details that are not available from Cutters Creek Online Store you can always contact Kim to see if she can order it for you. I ordered my Silhouette through Kim and the process was so easy because Kim makes it easy.
Thank you for stopping by and I hope you leave a comment to let me know your favorite thing on my card.
Fran
Monday, January 13, 2014
Smitten by Fran
I fell in love with this digital image that I used on my card and just knew I had to color her up and make a card. I am pretty sure I will give it to my hubby for Valentine’s Day even though it has a bow on it.
Details: My card is a standard A2 card (4.25x5.5 inches). The base of the card is made from Bazzill Simply Smooth Cardstock 8.5"X11"-White. There 6 layers including the image layer on the front of the card. I colored the Bazzill white layers (edges) with pink and red glitter pens. And the black card stock is by Neenah. The image is by Sassy Cheryl and is called Smitten. I colored her using Inktense Ink Pencils except for the skin. I used Copic Markers to color the skin (E00, E01, E11, RV21). The lady bug on the hat, buttons on the shoes and center of flower on the hat was accented with Inkssentials Glossy Accents. The heart buttons were hand made using a heart mold. Then I colored them using a Wink of Stella Glitter Brush in Red.
The inside of the card is made from Neenah Black Card stock and the pink card stock is from my scraps. The sentiment is part of the digital stamp image. And the falling hearts were die cut to get the various sizes and colored them to match the front of the card.
The card is held together using Tombow Mono Aqua (liquid glue) and Hot glue was used to adhere the buttons and bow.
All items that are linked can be purchased at the Cutters Creek Online Store. And if you have any questions about the products I used you can contact Kim Bush of Cutters Creek and she will be glad to assist you.
Thank you for stopping by and I would love it if you left me a comment to let me know what you think of my card. I love reading all the comments. And they give me incentive :)
Fran
Monday, December 9, 2013
12 Days of Christmas Day 9 by Deanna M
Today I have for you a 5" X 7" card. My card base is white card stock. I cut a piece of dark blue card stock 4 1/2" X 6 1/2". I stamped my image with some Versamark ink and embossed it using Opaque White WOW! embossing powder. To give the allusion that it's snowing, I added some Shabby White Fran-Tage.
Next I cut another piece of white card stock about 3". I used a Memory Box die called Country Landscape to cut the top of my card stock. (AND Yes, Kim can now order the Memory Box dies, just ask). Next I added some glitter to the "snow" so it would glisten and then added it to my blue card stock. Once I had all of that attached to my card base I cut a Snowflake Doily from the Cricut Paper Trimmings cartridge. This was cut at 1 1/2" out of blue card stock. I then cut a 1" circle out of white card stock and embossed my Happy Holidays sentiment using some Bodacious Blue WOW! glitter embossing powder.
Thanks so much for visiting today. Be sure to come back tomorrow for day 10 and another great project from the Design Team. Please leave us a comment and let us know what you think of our projects.
Sunday, June 9, 2013
4th of July Wreath by Deanna M
I had a lot of fun making my project today. I found my inspiration on Pinterest and put my own twist on it. I go there sometimes when I need to give my mojo a kick in the pants!
For my wreath, I used my Silhouette Cameo to cut my cones at approximately 5". I cut 4 red, 4 white, and 4 blue. I used my Scor-Tape to secure the cones once they were cut.
Next, I used my Gypsy and the George and Basic Shapes cartridge to cut an 8" circle out of white card stock. I wanted to use chipboard but didn't have any so instead, I cut 3 8" circles and adhered them together for my wreath base. I used Bazzill Simply Smooth card stock to cut my circles. This is my go to card stock for just about everything and I love it!!.
I used my Scotch Quick Dry Adhesive to adhere my cones to my circle base. For the center of my wreath I cut two 2" X 12" strips of some card stock and scored it every 1/2". I did a mountain, valley fold and used Scor-Tape to adhere the two strips together to make a Rosette and adhered that to the center of my wreath.
Next I used the print and cut feature with my Silhouette and print and cut my bear at approximately 7 3/4" tall. I used some of my super strength craft glue dots to adhere my bear to the center of my wreath.
Now what is the 4th of July without some sparkle and shine???? Once my wreath was assembled, I sprayed the entire wreath with Iridescent and Silver Glitter Dust. ( I used both colors because I ran out of the Iridescent).
The last finishing touch to my wreath was to add a dark blue ribbon using my Tim Holtz Tiny Attacher to attach the ribbon to my circle base.(Kim can order you the tiny attacher if you want one).
This is so easy to make and could easily be adapted for just about any occasion, or holiday. I hope you will give it a try.
Saturday, November 10, 2012
A Christmas Card by Deanna M
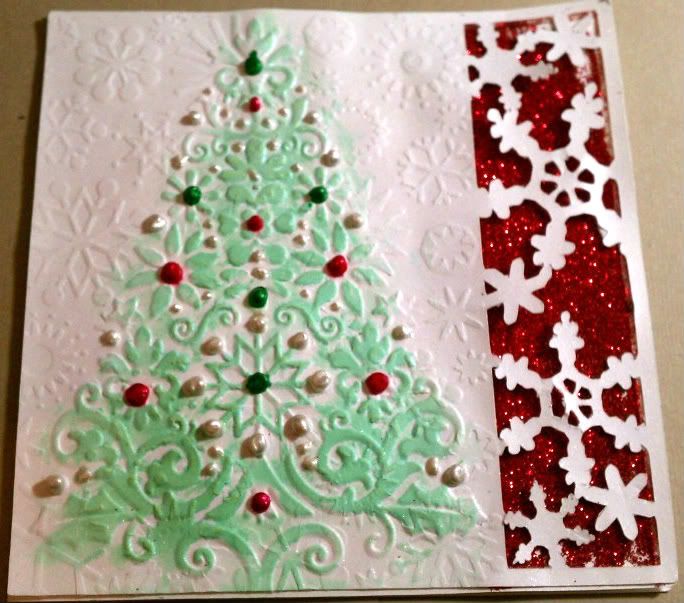
I recently received my Tim Holtz Frosted Film and couldn't wait to make a project with it.
My card base is white card stock cut and scored to make a 4 1/4" X 5 1/2" card. I used my Gypsy and a tag from the Tags, Bags, Boxes and More cartridge that I cut a window in my card base at 4". I then used the Christmas Solutions cartridge to cut my window. at 4 1/2". adhered a piece of the Frosted Film to some clear acetate and cut the window with my Cricut. I used a pressure of 4 blade depth of 5 and multi cut 2 and it cut out great.
For my tree I used my Imagine and the Santa Village cartridge and print and cut the tree at 3". I adhered the tree to another piece of white card stock that I cut at 4" X 5 1/4" and adhered it to the inside of my card so I could see the tree through the window.
Finally I used a snowflake border bunch and punched out a bunch of small snowflakes, ran them through my Xyron upside down and applied some glitter to them. I attached them randomly on the front of my card with some glue dots.
Saturday, October 20, 2012
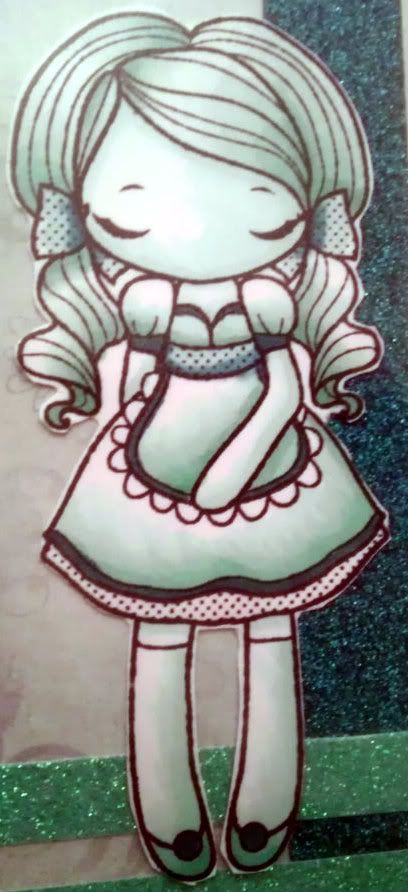
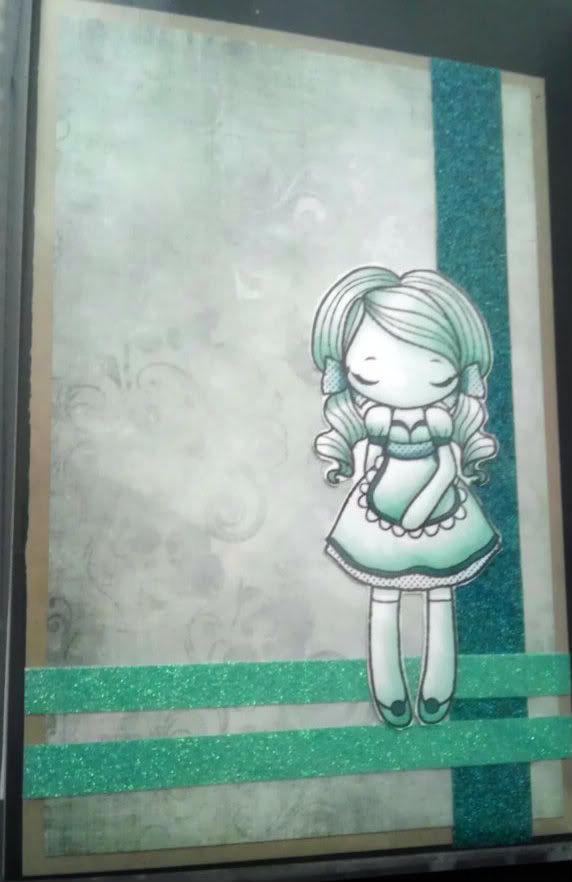
Monochromatic Card
Ink: Memento Tuxedo Black, Copics,
Embellishments: AC Glitter Tape, Peacock and Aqua
Other: ATG
Stash: Kraft Paper
Dress: BG000, BG10, BG11, BG32
Skin: BG000, BG10
Hair: BG000, BG10, BG11, BG32, BG23, BG34
Legs: BG000, BG10, BG11, BG32
Friday, June 22, 2012
Window Card by Deanna M
I saw the idea for this card last December in a card making magazine and have been wanting to make one. My card base is white Bazzill Smooth card stock cut and scored to make a 4 1/4" X 5 1/2" card base. My patterned papers for the curtains is from the My Minds Eye paper pad Miss Caroline All Dolled Up. Using the Plantin Schoolbook Cricut Cartridge I cut the scallop at 1" and then trimmed it to fit across my card. My "curtains" are cut at 1 7/8" X 4". I ran the paper through my paper crimper to get that pleated look. For my window I cut the image from the Christmas Solutions cartridge at 3" out of the Mod Squad Cut and Emboss Paper by Core'denations. I then cut the view for my window from a scrap from the Echo Park Summer Paper pad from last summer. I adhered the view down straight to my card. I attached the window with some of the ASI 3D Clear Foam. I also attached the curtains and the valance with some foam tape. To finish it off, I added a couple of bows.
Wednesday, March 28, 2012
Live Life with Joy Card by Deanna M
I was able to get a package of the laser cut wooden embellishments from Kaisercraft. Wow, I love them. They are super thin, about the thickness of a dime. (I tried to get a picture but just couldn’t get it clear enough). There is a wide assortment of different embellishments to chose from, like birds, birdcages, there are some gorgeous butterflies, dress forms. If you are interested in any of them just let Kim know at Cutter’s Creek and she can special order them for you. If there is enough interest we might be able to talk her into stocking them in the store.
For my card today, I started with a 4 1/4” X 5 1/2” white card stock card base. I added a mat cut to 4” X 5 1/4” cut from some Gemstone Core’denations cardstock. I love this cardstock, it is shiny, with a great glimmer. My patterned paper is cut at 3 3/4” X 5” from the Howdy Doody My Minds Eye paper pad.
For my wooden embellishment, I first sprayed it with 4 coats of Vintage Pink Glimmer Mist, allowing it to dry thoroughly between coats. Then I gave it a quick coat of Hammered Copper Glimmer Glam (another item that Kim will happily order for you). I used some Scotch Quick Dry Adhesive to attach my wooden embellishment to my card. I added a foam dot into the middle of the flower (the flower center was not solid). For my flower center I used a 3-D Glue Dot and dipped it into some Citrus Crush Ultra Fine Flower Soft. I used my finger to press the flower soft into the glue dot. I kept the glue dot on the paper backing until I was ready to adhere it to my flower center.
I used some Wild Honey Distress Ink to stamp my sentiment. To finish my card I added a rhinestone flourish from Want 2 Scrap that I just cut to fit the areas of my card.
Please be sure to leave us a comment and let us know if you are interested in these laser cut embellishments.
Sunday, March 25, 2012
Just Saying Hello Card by Deanna M
I have a fun spring card for you today. My card base is white smooth Bazzill card stock cut and scored to 4 1/4" X 5 1/2". I added a mat from the My Minds Eye Fiddlesticks 6" X 6" paper pad. The new My Minds Eye paper pads are fabulous. I cut the wood grain mat (don't you just love it!) at 4" X 5 1/4". Then I added a strip of the reverse side of the paper cut at 1 1/2" X 4". I cut my image from the Kate's ABC cartridge at 3". I used the Cricut Imagine Nursery Tails cartridge for my pattern on the watering can and my flowers. I used a white gel pen to add some doodle dots to my flowers and some faux stitching to the watering can and the polka dot mat. I then adhered everything to my card front and used some Flower Soft Adhesive and some Meadow Flower Soft around the edge of my watering can. I wanted it to look like it was sitting in the grass. Finally I added my sentiment with some Memento Rich Cocoa Ink and added some stickles to my flower centers.
Tuesday, January 10, 2012
Double Dutch Fold Card
This card fits in a standard A2 envelope. I started with a piece of Bazzill White card stock cut at 4 3/16" X 9" and scored at 5 1/2". I also cut a piece of the white card stock 2" x 8 1/2" scored at 2 1/8" and 6 3/8". I used my ATG Gun to adhere the the larger piece to the smaller piece centering it between the folds of the smaller piece. When finished the top folds down and the two smaller sides fold in like a gate fold card. I then cut a dark turquoise mat from Core' denations card stock. For the larger flap I cut the blue mat at 4" X 3 3/4". The smaller flaps I cut the blue ( think I didn't write it down sorry) at 2" X 1 7/8". The polka dotted patterned paper is from the Echo Park Paper Pad. The patterned paper was cut 1/4" smaller than the blue mat. I cut my cupcake from the Sweet Tooth Cricut cartridge at 3 1.2". I cut the heart out of red paper from my stash and then used some Magenta Stickles on the heart to give it some sparkle. Finally I add some faux stitching and doodle dots to the chocolate layer.
I sure hope you will give the card a try. It was a lot of fun to make something a little out of the ordinary.
Wednesday, November 9, 2011
Thanksgiving Place Cards by Chris
Using Bazzill Simply Smooth Ivory Cardstock, I cut the paper dolls at 3 inches. The first few I cut, I forgot to select Blackout, so the faces cut; once I realized what I had done, I switched to blackout because I wanted to use my Peachy Keen Face Stamps. I then tinted the faces, hands, and legs with Tattered Rose Distress Ink, stamped the faces and after which I cut out the pilgrim boy and girl outfits from scraps in my stash. I used my Zig Glue Pen to glue the outfits together and adhere to the paper dolls and then adhered them to the pail using Glue Dots Pop Up Dots. I added a few accessories like a bow and arrow, blunderbuss, pies, turkeys, and more, using the function keys and keeping the size at 3 inches (Make sure the "Real Dial Size" key is off). To brighten them up a bit I grabbed my Black Diamond and Golden Rod Stickles — just can’t seem to do a project without Stickles — and added a belt to the boys and buckles to all.
Then I turned to SCAL - Sure Cuts A Lot to create the Pennants in the shape library and I just adjusted the nodes on one end to be straight and lengthened the pennant (be sure to take off the “keep proportions” key). I set my Cricut to outline the pennants with my Cricut Color Inks and then wrote the names in each one, and finally cut them out. I rolled them around a pencil to “wave” them a bit and glued them around the handles. Now all I need to do is fill each pail with candy corn and everyone will know where to sit. How are you decorating your table?
Wednesday, October 12, 2011
Breast Cancer Awareness Month with Kim B
For my project, I decided to make a card for someone who has be recently diagnosed with breast cancer:
The following products used for this card can be purchased at Cutters Creek:
Ink Pink Stamp Collections by A Jillian Vance Design
American Crafts POW! glitter paper
Kaisercraft rhinestones
Memento Ink
Bazzill Simply Smooth cardstock
Saturday, August 6, 2011
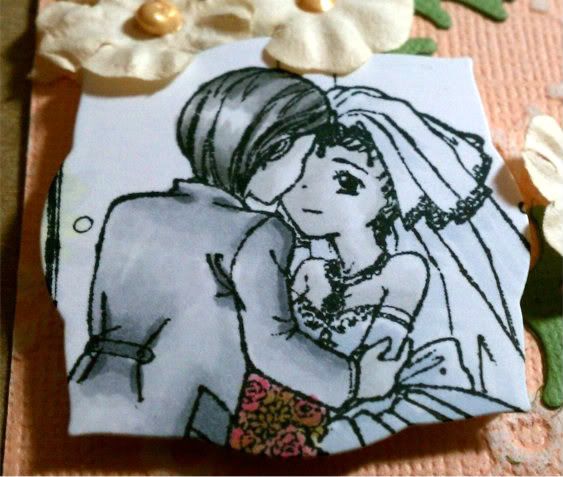
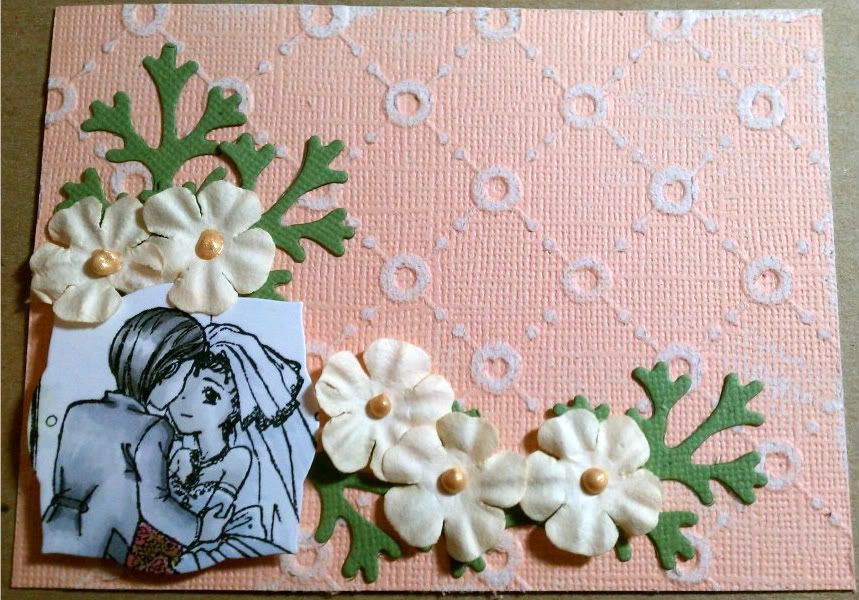
Congrats by Melissa
Ink: Memento Tuxedo Black, Copics,
Embellishments: Liquid Pearls
Other: ATG, Glue Pen, Spellbinders: Foliage and Labels Three, Big Shot
Stash: Kaisercraft paper flowers: cream
Groom Hair: T1, T3, T4, T6
Skin: T0, T1
Dress: C1, C2
Flowers: R83, R85, E04, YG91, YG93, YG95
Saturday, July 30, 2011
Melissa's Christmas in July
Ink: Glimmer Mist: Lily Pad, Dazzling Diamonds
Embellishments: Perfect Pearls: Emerald Green, Ruby Red, White Opal
Other: ATG, Big Shot, Cuttlebug -Lace Tree (retired), Snowflakes, Cricut
Stash: red glitter
Monday, July 18, 2011
Melissa's Copic Portfolio
Ink: Memento Tuxedo Black, Copics, Copic Multiliner
Embellishments:
Other: ATG,
Stash: green paper
Monday, May 30, 2011
Melissa's Miss Anya
I colored my image with my copics and used B000 and G0000 to blend in the background as sky and grass - - just very light colors, but enough to show the white edges on the Curved Rectangle where is was embossed. The background paper is from Prima Reflections and I used different papers in the collection for the butterflies as well.
Hope you like it!!
Ink: Memento Tuxedo Black, Copics,
Embellishments: Martha Stewart Punch (Stash)
Other: ATG, 1/4" Scor-Tape, Glue Pen, Curved Rectangles, Big Shot
Stash: Purple Cardstock, Post-it Notes
Hair: E11, E97, E99, E19
Skin: E50, E00, E21, E11
Dress: BV0000, V93, V95, V99
Flowers: Y000, Y11, Y15
Leaves: YG13, YG17, YG23
Background: G0000, B000
Shadows: N0, N1, N3
Wednesday, May 18, 2011
Melissa's Anime Image
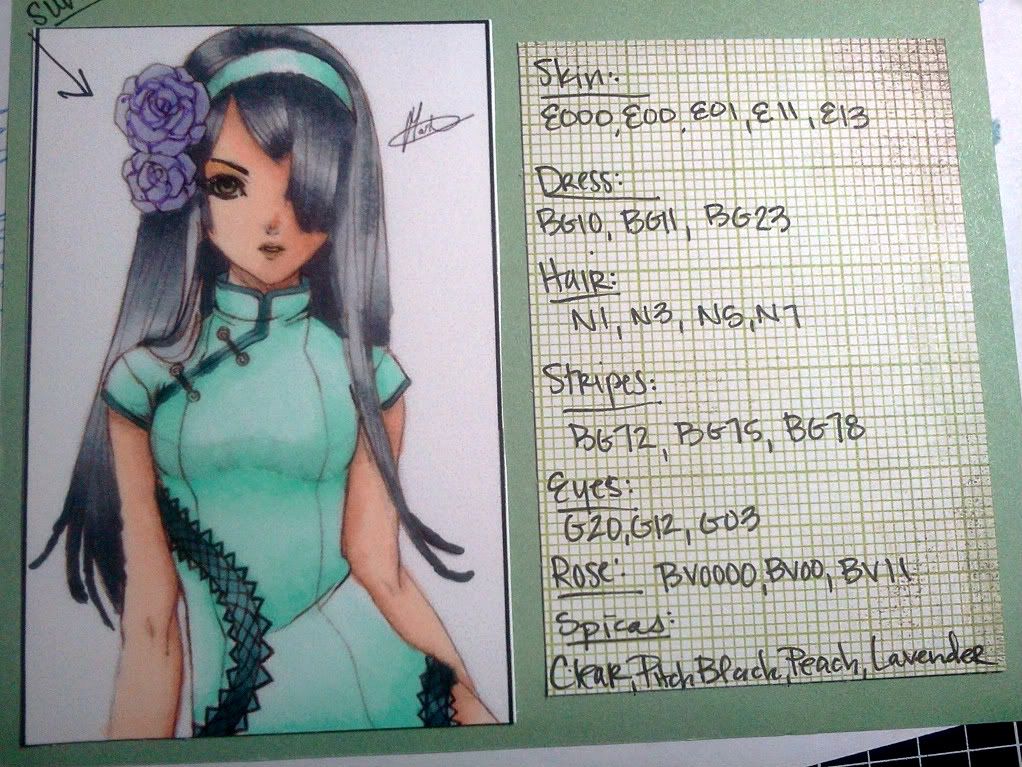
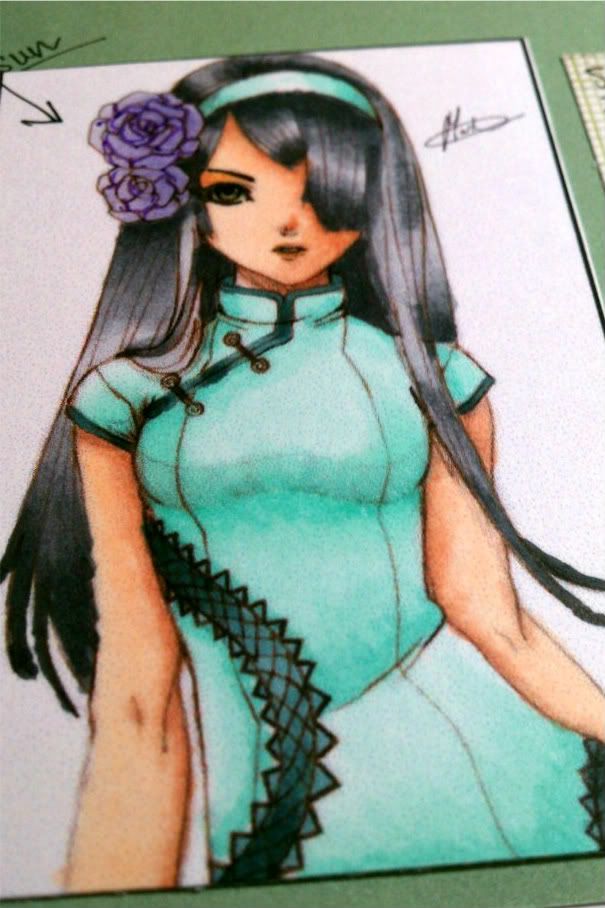
I LOVE this site. One of my favorite artists is Princess Elemmiriel. She has the most gorgeous line art to color. I chose Lady Rose Dragon . . . I can't tell you how many cards and miscellaneous items I have made with this image in particular. So while I waited for my printer ink to dry - -you can never wait too long - -I embossed a beautiful Jade Green and a Silver Gray paper from Core'dinations Gemstone pack with my oriental weave embossing folder. I would highly recommend this paper as well! I centered them on some back cardstock from my stash and started coloring my images. Bytheway, these cards are the standard A2 size :o)
So I tried to stay with complimentary colors to the papers I chose. You don't have to use all the colors I did to get the same effect; I just started tossing in colors while I was playing. I really tried for a dramatic look with the eyes and lined them with a multiliner and with spicas. What do you think?
Skin: E50, E00, E21
Eyes: G20, YG11, YG17
Makeup: R12, R02, R32, Pitch Black Spica, Peach, Clear
Hairband/Trim: Y32, Y35, Y17
Dress: BG10, BG11, BG23, BG13
Flowers: RV02, R12, R02, R32, R35
Shadows: C00, C1
Hair: C00, C1, C2, C4, N4, N6, N9, 0- Blender
Skin: E50, YR000, E00, YR01
Eyes: G20, YG11, YG17
Makeup: R12, RV91, RV93, Pitch Black Spica, Peach, Clear, Silver

Hairband/Trim: N1, N4, N6
Dress: BG10, BG11, BG23, BG13, BG45
Flowers: BV0000, BV00, BV02
Shadows: C00, C1
thanks for looking!!!
Embellishments: Liquid Pearls
Wednesday, April 20, 2011
Melissa's Easter Card
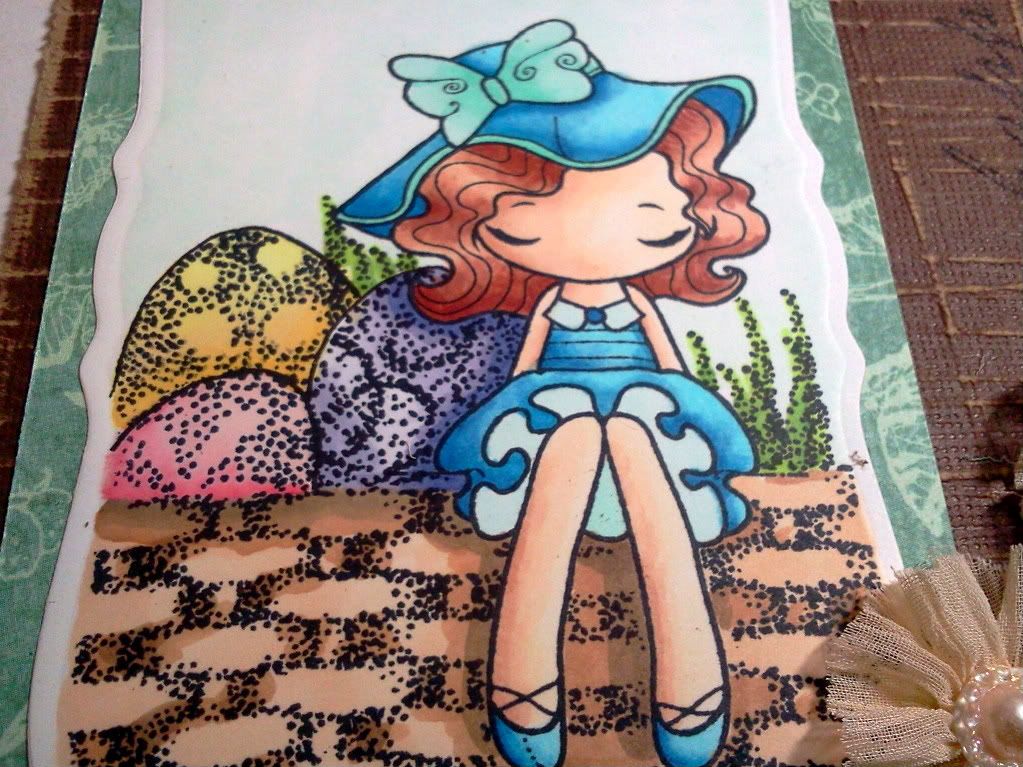
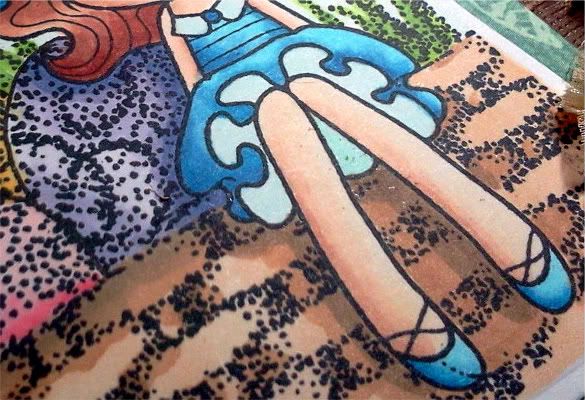
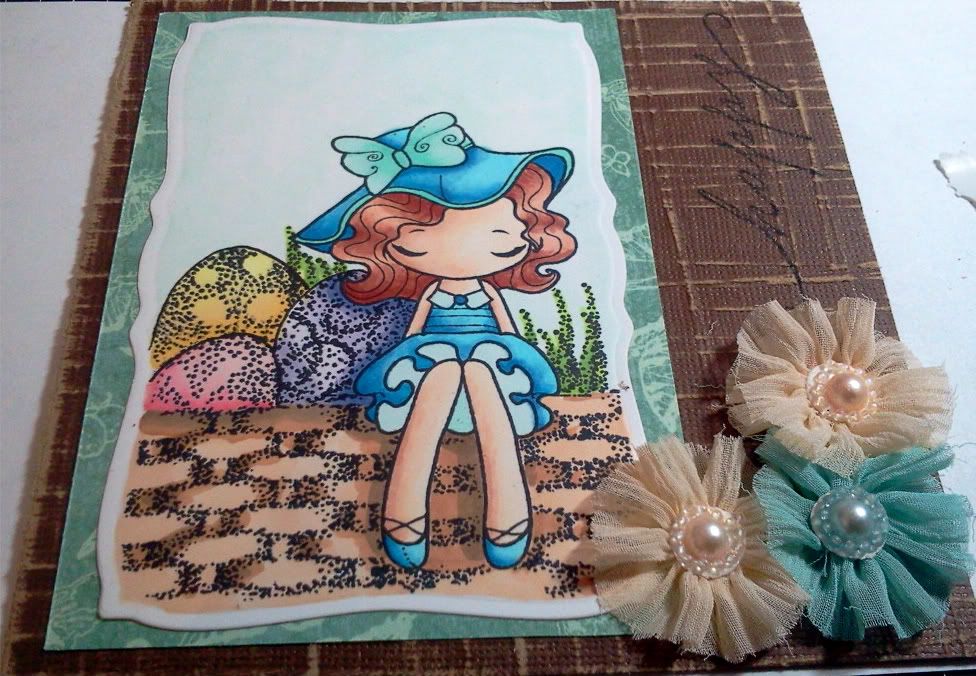
I used the Linear Light template from Marianne Walker's Shadows and Shading Book to determine my light source to create a more realistic picture; the upper right side. Now, I colored my images paying attention to shadows and cast shadows in particular. Cast shadows are shadows created by an object being reflected on another surface. Does it look like shadows of her legs on the basket and her hair and side on the eggs?
Stamps: TGF- Miss Anya Dressy, CTMH Eastertime (Stash)
Paper: Bazzill Simply Smooth, Graphic 45, Cosmo Cricket
Ink: Memento Tuxedo Black, Copics
Embellishments: Prima Flowers: Aurora. Splash
Other: ATG, Curved Rectangles, Embossing Mat, Scor-Pal
Stash: Post-It Notes, Shadows and Shading Book by Marianne Walker
Basket: E21, E34, E44
Sky: G0000
Eggs: BV0000, BV00, BV11, BV04
R30, R32, R35
Y11, Y32, Y35
Grass: YG23, YG03, YG17
Skin: E50, E00, E11, E13
Hair: E11, E13, E17, E19
Dress: B00, B14, B16, B26
Trim: BG10, GB11, GB23