Thursday, July 17, 2014
Art Deco Tag by Jearise
I stamped the image on white card stock and then went to work adding Tim Holtz Distress Inks and using my alcohol markers. I like the way the frame around the woman pops and there is the vintage look I was going for so I am happy with the way this turned out.
Making of the tag:
1. Stamped image on X press blending card stock
2. Colored various parts of image with alcohol markers
3. Dab on different shaded of Tim Holtz Distress Ink
4. Spritz with water and let the colors blend
5. Add your bling! and adhere to your tag.
Products from Cutters Creek store are listed here:
Tim Holz distress ink pads in various colors
Zig 2 way glue pen
rhinestones (in flowers)
X Press Blending Paper for Copic markers
Enjoy and a question for you... Are you into Art Deco?
Saturday, November 16, 2013
Thankful for You card by Jearise
I hope you liked my card and I thank you for stopping by today.
Products from Cutter's Creek:
6 x 6 paper pad - Trail Mix Collection from BoBunny. It's part of the 6 x6 paper club and you would need to contact Kim for information on ordering.
Tim Holz Distress Ink in shaded lilac
Perfect Pearls Mist in pewter
ATG tape dispenser
Glue Dots
Cuddle Bug Embossing machine
Cuddle Bug embossing folder - Kassie's Brocade
Tuesday, November 5, 2013
Thanksgiving Card by Jearise
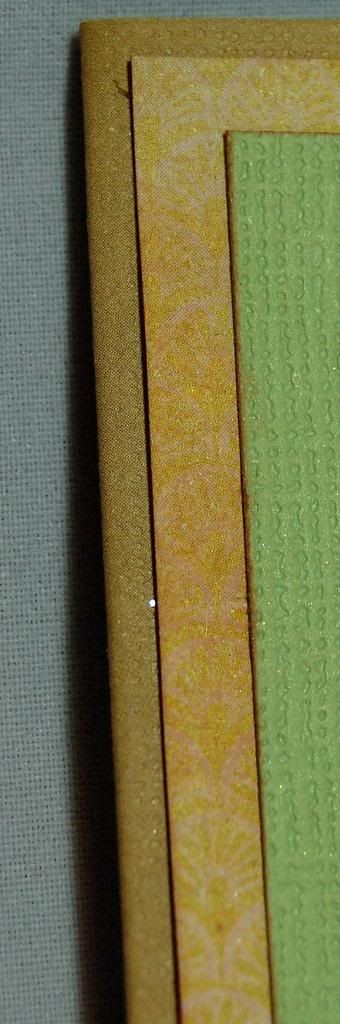
All the paper is from the 6 x 6 paper pad from Remembrance by Authentique. You can inquire to Kim if you are interested in it. It's beautiful paper and lovely for cards.
I also used:
Stickles in Diamonds for the middle of the flowers and the border in the middle of the card.
Glimmer Mist in graphite metallic for the flowers to tone down the yellow and give them an aged look.
Cuddle Bug embossing folder for the embossed design.
Tim Holz Distress ink in ted dye color for the edges.
ATG glider to hold it all together.
Thank you for stopping by today and taking a peak at my Thanksgiving card. I really do appreciate it.
Thursday, October 3, 2013
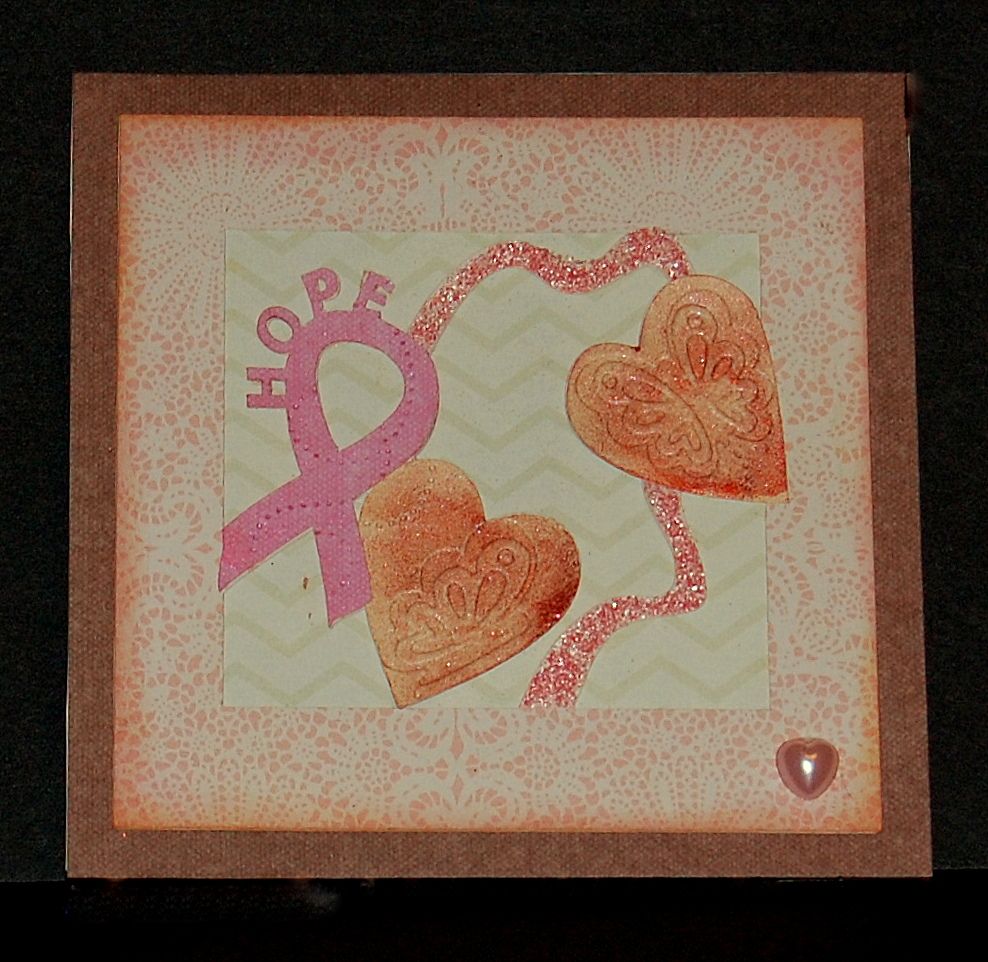
Breast Cancer Awareness Card by Jearise
Today, for this special month, I have designed a card and would like to share with you my creation. A dear friend, who is a breast cancer survivor, asked me to make a special card for her and this is what I came up with.
The word HOPE stands for the hope that all women and families have that some day there will be a cure for all types of breast cancer. The hearts represent the love we have for those affected by cancer and the flowing ribbon in the background represents the bind between every families' love and hope: love for the one affected and hope for a cure.
Products used and where:
Scotch Quick-Dry adhesive to hold it all together
Perfect Pearls Mists in "forever red" on hearts and "pink gumball" on HOPE ribbon
Stickles in Cotton Candy on background ribbon
Tim Holtz Distress Ink in tea dye color for edges
6 x 6 paper pad called HONEY and from "the sweetest thing" by Jen Allyson for My Mind's Eye and Kim's 6 x 6 paper pad club. Email her about all her different clubs!
Thank you so much for joining me and until next time...Best of everything to you.
Wednesday, September 18, 2013
Creative Embossing
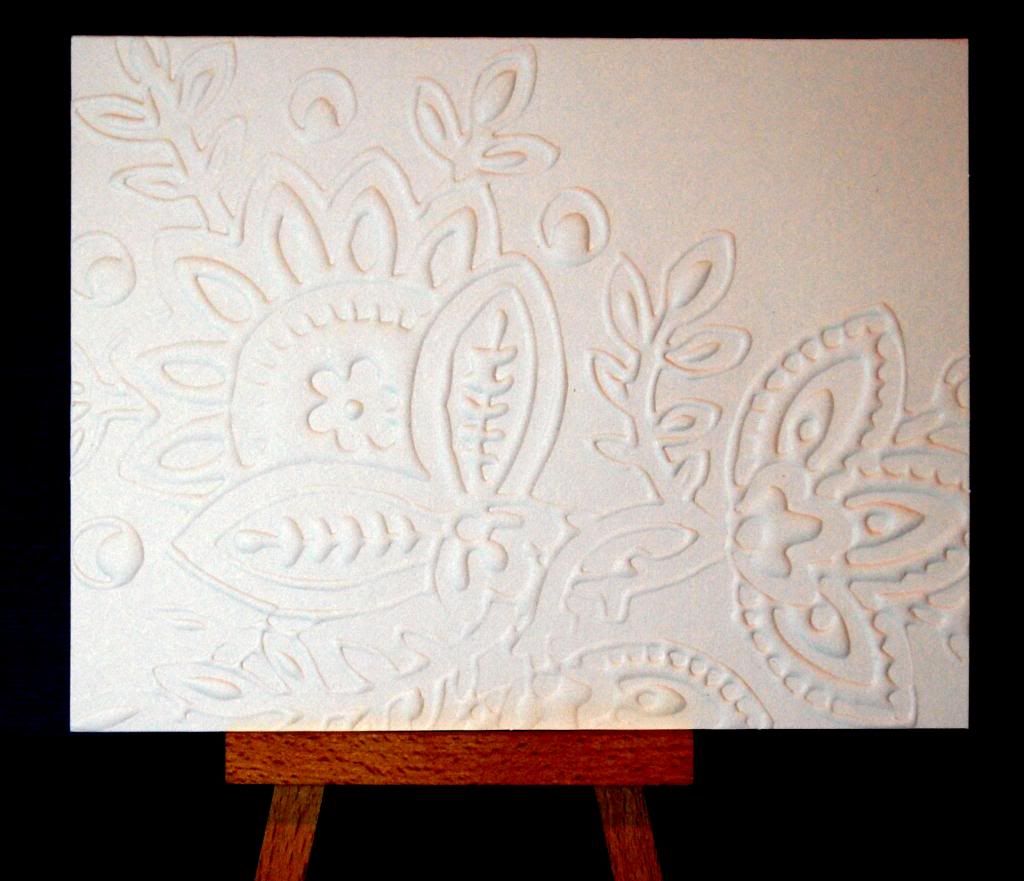
Here is the way the card looked in the beginning.
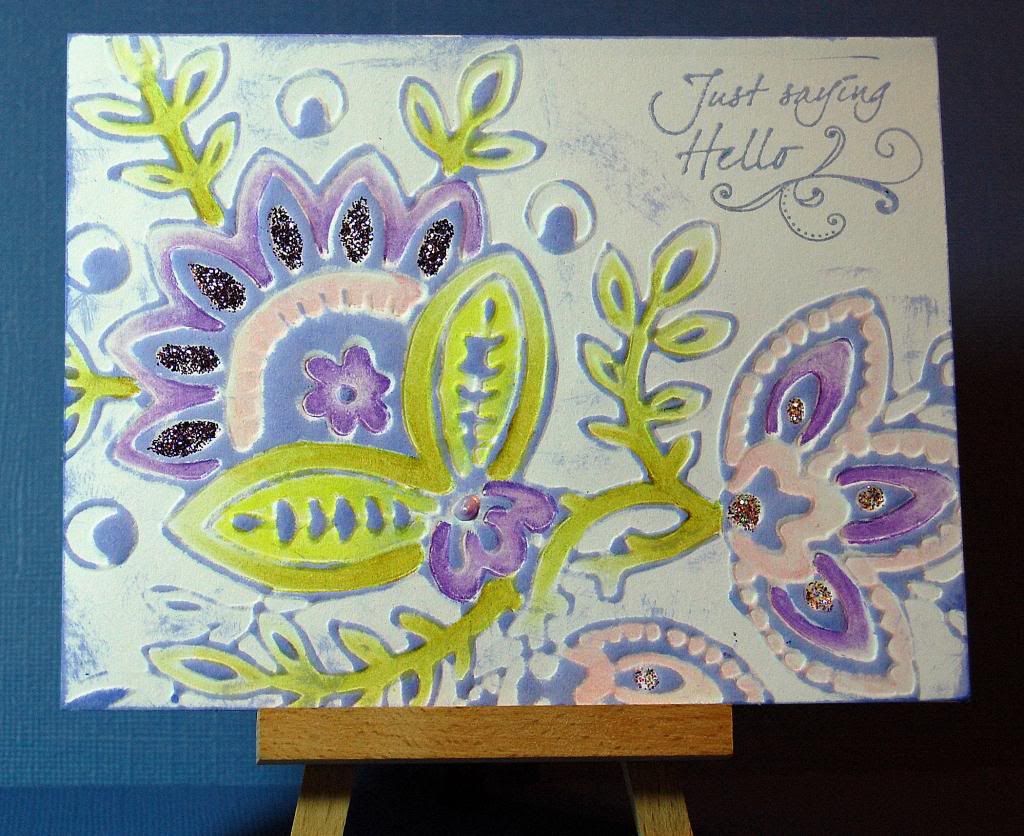
And this is the finished card.
The big player in doing this card was my Tim Holtz Distress Ink Pad in Shaded Lilac. It glides on relief much easier than a sponge ink pad because of the material over the sponge. I used my colored pencils to color certain areas but I used my Stickles glitters to add that extra sparkle. We all love our sparkle!
One card done and only about 50 more to go. Yup, I bought that many but thank goodness for the Tim Holtz Distress Ink Pads. I have a feeling I'll be using a lot of them in many different colors. :)
Tuesday, September 17, 2013
EEEEEEEK
I used the My MInd’s Eye Mischievous paper pack. I love this paper because it’s Halloween paper, but it’s not too Halloweeny. I colored my image with my copic markers. I wanted the image to match the distressed look of the paper so I dulled down all the color by going over them with a pale warm grey or light tan color.
After I finished coloring the image, I went over the entire thing with some old paper distress ink then I edged it with some black soot distress ink. I went over some parts of the image with my copic spica pens, but it’s too hard to capture in the picture. For the sentiment I used some black Wow embossing glitter. It was great to reconnect with some of my old supplies. Sometimes you need to deep clean your scrapbook room to remind yourself of what you have (and what you don’t have but you really really need).
One thing I discovered while cleaning was that I had a problem with my 6 x 6 pads. I have them stored vertically in a little drawer. When I use a pad, I put all the scraps back inside the pad. I’ve found when I pull the pad out by the top, the scraps were falling out. I saw this idea on Youtube and it worked great. I put the scraps in a clear envelope and attach that to the back of the pad so the scraps and the full pieces are all together. In this case since the pad was pretty empty, I put the pad and the scraps down in the envelope. This has been working great.
I hope you have enjoyed my Halloween card and that I have encouraged you to reconnect with some of your older supplies.
Cutters Creek Shopping List
Distress Ink
Copic Markers
Wow Embossing Glitter
My Mind’s Eye paper
Clear envelopes
Wednesday, September 4, 2013
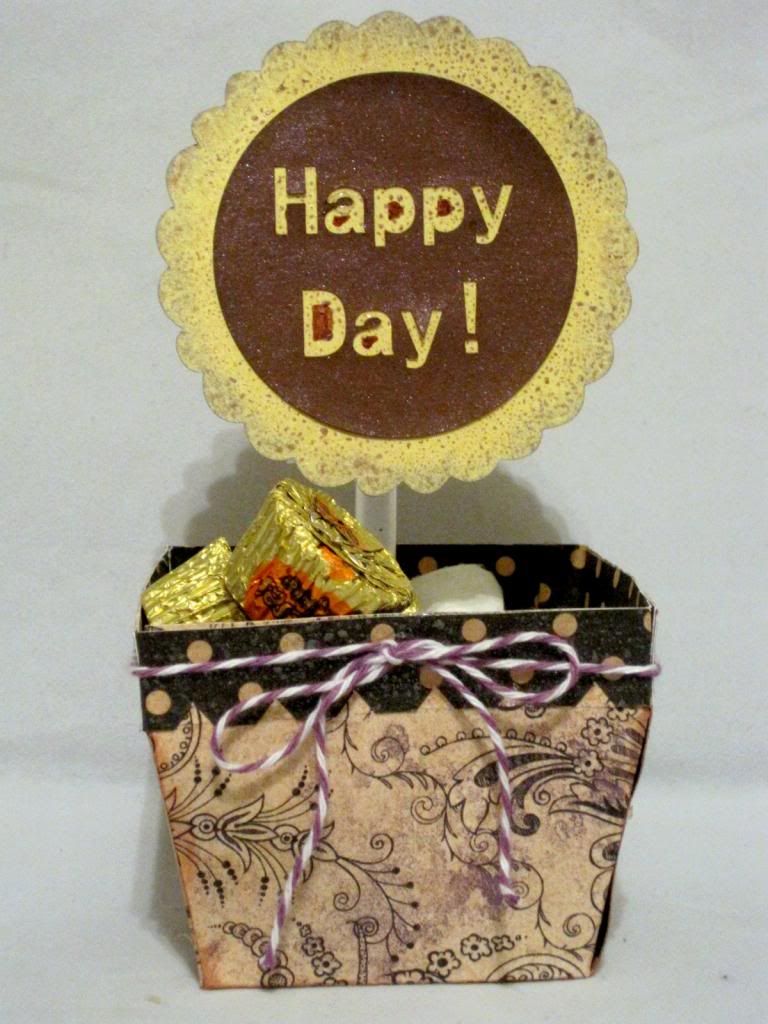
Flower Pot Box by Jearise
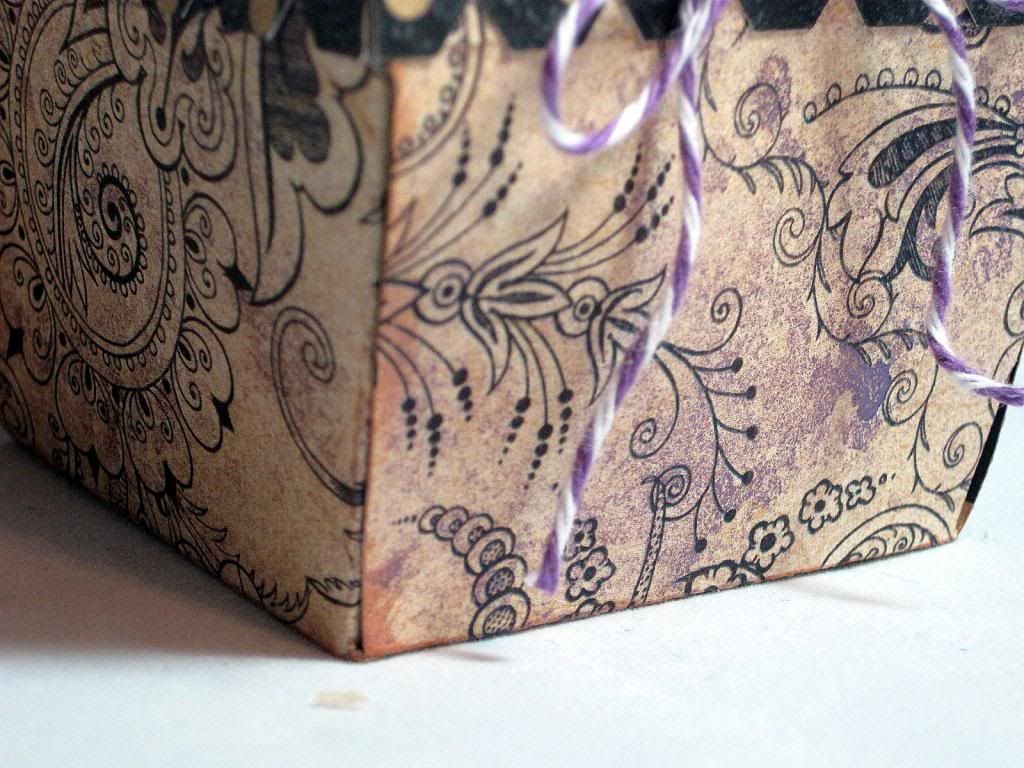
Here is a close up of the glimmer mist and the twine that I used.
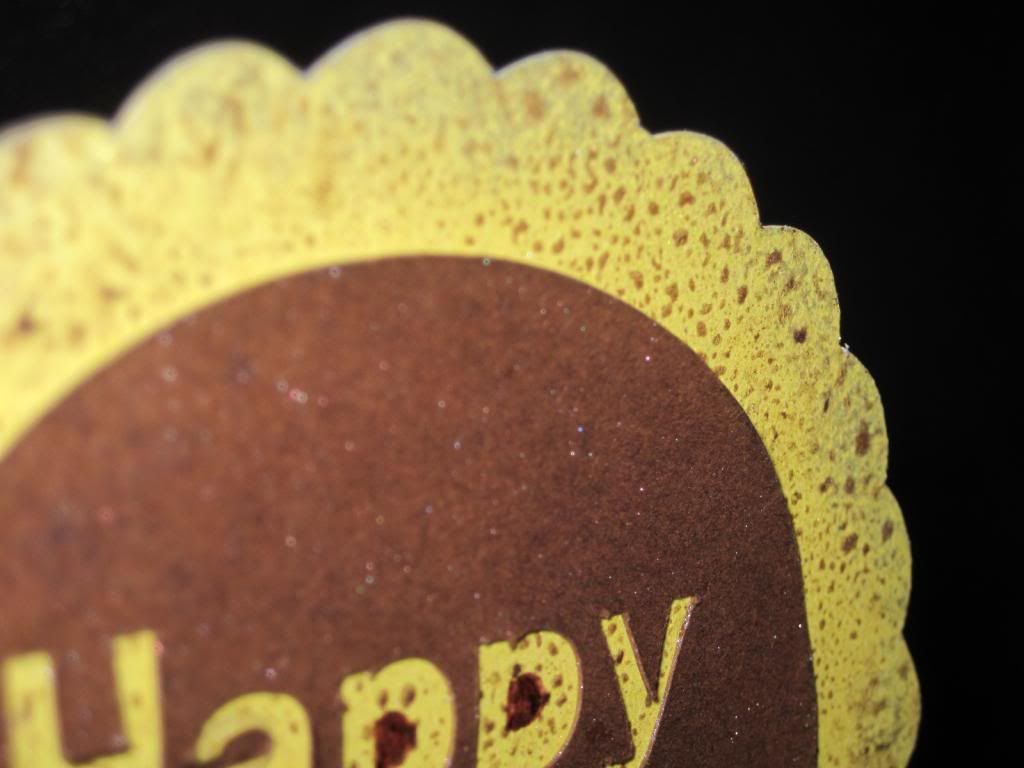
Here is a close up of the flower. I love the way I did this. I used Distress Ink to ink the outside of the flower and then when that dried I sprayed my flower with Perfect Pearls Mist. The Perfect Pearls looks like it's still wet when it's not.
Products Used:
Graphic 45 paper
Tim Holtz Distress Ink pad in Shaded Lilac
Perfect Pearls Mists - Forever Violet
From Kim's Perfect Pearls Mist club. You can email her about the club and her many different clubs where new releases come first.
ATG Tape dispenser
Scotch Quick Drying Adhesive
Doodle Twine
Thanks for stopping by today and I look forward to next time.
HOPE card by Jearise
Today, for this special month, I have designed a card and would like to share with you my creation. A friend, who is a breast cancer survivor, asked me to make a special card for her and this is what I came up with.
(Insert Pictures here)
Products used and where:
Scotch Quick-Dry adhesive to hold it all together
Perfect Pearls Mists in "forever red" on hearts and "pink gumball" on HOPE ribbon
Stickles in Cotton Candy on background ribbon
Tim Holtz Distress Ink in tea dye color for edges
Thank you so much for joining me and until next time...Best of everything to you.
Monday, August 19, 2013
Thinking of You Card by Jearise
As I flipped though the pad I found the background paper for this card and I utilized both sides for the background of the card. I just flipped over the strip of paper I had left over and ran it through my Cuddlebug to emboss it. The numbers came from another page from the book and when I saw the "1" with the "One of a Kind" saying I knew I had to use it. I was going to stamp "Thinking of You" but this is so much better.
I wanted to add a splash of color and really like the way the yellow and pink worked together. Who would have guessed? I took one of my paper roses and spritzed it with my Tattered Angels Glimmer Mist in pink. Here is a close up so you can see the glimmer.
Other things I used from Cutter's Creek to make this sweet card:
Scatch Quick-Dry Adhesive
ATG gun by Scotch
Scotch Pop Up Foam Squares
Tim Holtz Distress Ink in Tea Dye
Inkssentials Ink Blending Foam
Thank you so much for stopping by today and until next time....
Monday, August 12, 2013
One Day at a Time by Deanna M
Aren't they beautiful???? Now, are you ready for a project that uses some of these colors? Great because I have one for you!
I started with a piece of kraft card stock cut and folded to make a 4 1/4" X 5 1/2" card base. My patterned paper is from a My Minds Eye Bluebell paper pad that I received from the 6" x 6" paper pad club that I belong to through the Cutters Creek Yahoo Group. Kim usually has several clubs running at once. She does her best to keep the cost down to around $20. They are billed the same day each month and at the end if you have paid on time you receive a free gift. Just join the Cutters Creek Yahoo Group to find out more. I will spill a secret and let you all know that Kim has just opened sign ups for the new Distress Glitter club. Interested??? Join the group for details.
Now back to the card! I used a scalloped chipboard oval from Want 2 Scrap (a free gift from a club!). I stained it with some Broken China Distress Stain (another club product!). I then sprayed it with some Sea Glass Glimmer Mist. Once it was dried I used the Ice Blue Stickles on the lacy scallop edges. I stamped the images with Memento Tuxedo Black Ink. They were colored with Copic and Spectrum Noir markers. I used the Ice Blue Stickles for the center of my flowers and to add some sparkle to my butterfly. The heart on the flower pot I used the Cranberry Stickles. I used some Scotch Quick Dry Adhesive to adhere my scallop to my card and to adhere my images to the oval. My tickets are inked with some Tim Holtz distress ink in Faded Jeans and Tumbled Glass. To finish the card I stamped my sentiment with some Memento Tuxedo Black Ink and added some rhinestone bling.
Now don't forget to join the Cutters Creek Yahoo Group to find out more about the clubs and all the products in the store. You won't regret it. It is a great way to add to your crafting supply without breaking the budget!!
Sunday, July 28, 2013
Fun and Play Card by Fran
Today I have a really fun card to show you. I was driven by the image to make the card colorful and playful. The digital image I used is by Mo Manning called Come Out and Play. When you see the image it will bring back lots of memories for us who were kids during the 50s and skating was the favorite past time. I can remember going to the Shoemakers down the street from where I lived to buy skate keys because I would lose mine all the time. Oh and the best shoes to use were saddle oxfords. You know the ones that were black and white. The skates would stay on better. Just a little skating down memory lane.
I colored the image using Prang colored pencils and the Gamsol technique. I used a Spellbinders Mega Nestabilities, Curved Rectangles to cut around the image. I distressed the card with Tumbles Glass and Crushed Olive Distress Inks. All the small flowers were punched using a Retro Flower Punch by EK Success, Added lots of Stickles Glitter Glue to the flowers, words, and speech bubble. The larger flower is from my stash. I used the Silhouette Portrait to cut out the words: F-U-N and P-L-A-Y. The frame of the card on the front and inside was also cut using the Silhouette called Notebook Edges. Inkssentials Glossy Accents & Tombow Permanent Adhesive to hold everything together. Cardstock is from my stash. And the speech bubble and text was created in Paint Shop Pro.
Cutters Creek Products: Distress Ink Pads; Stickles Glitter Glue; ASI Kool Tak; Inkssentials Glossy Accents; Tombow Permanent Adhesive.
Side Bar Info: Kim of Cutters Creek offers her customers a special way of obtaining their favorite crafting products by way of clubs. The clubs run approximately 6 months allowing the customer to pay each month with a lower shipping rate on the products from each club. For instance I belonged to the Adhesive Club and each month I received 3 adhesives of various types. I also belong to Tim Holtz Distress Paints Club. This is a great way to build on your crafting supplies with affordable monthly costs. If you have any questions about the clubs you can contact Kim here.
Thank you for stopping by, Fran
Wednesday, July 24, 2013
Christmas Card by Jearise
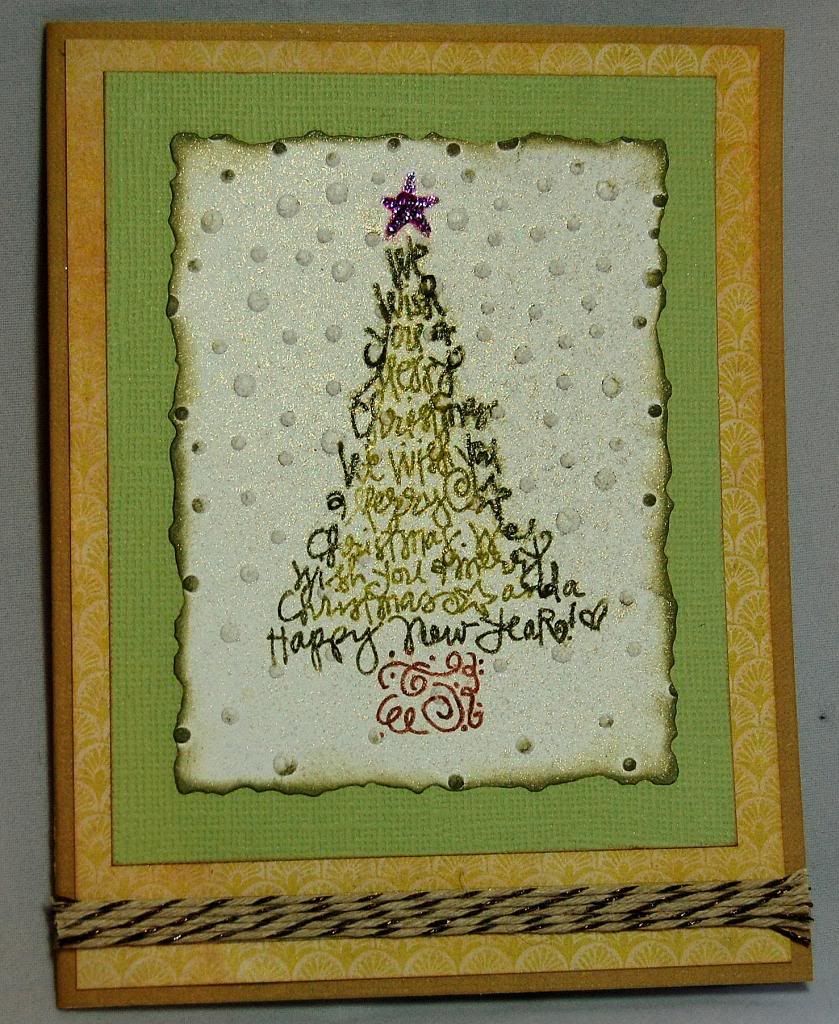
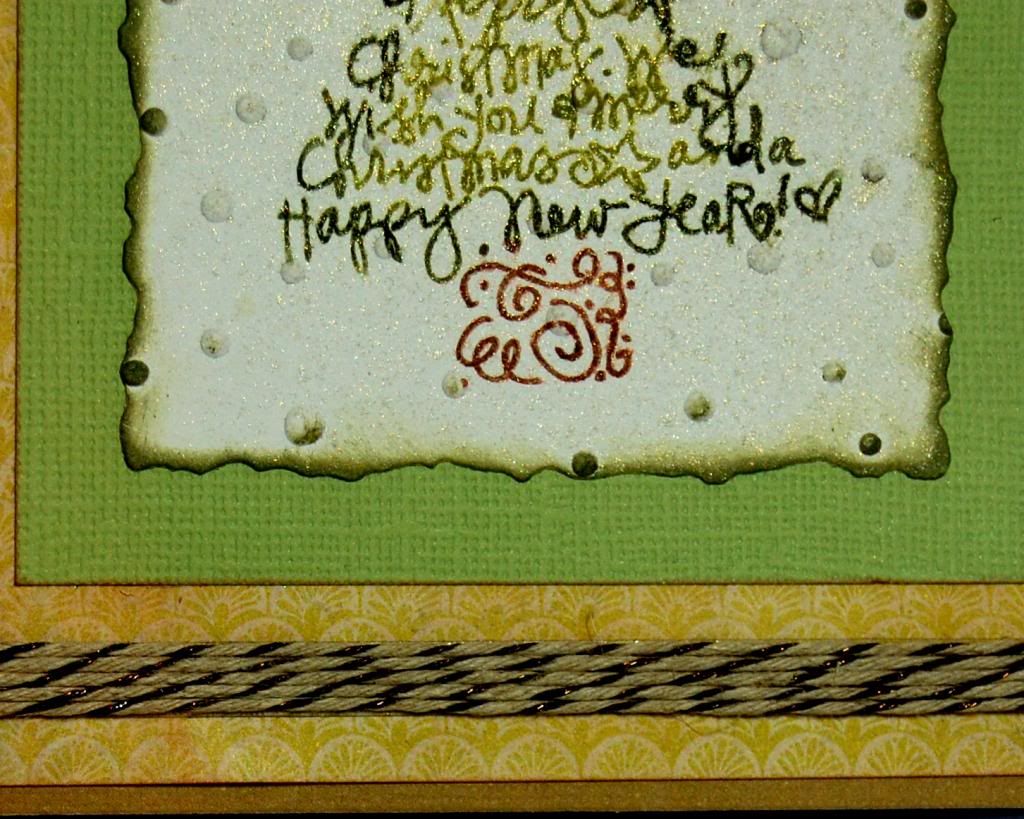
As you can see, I used non traditional colors for this card.
Items from Cutter's Creek Store:
purple Stickles glitter glue for my star
Perfect Pearls Mists in Kiwi for the background
Provocraft Cuddebug Embossing folder - Swiss Dots also for background
Authentique 6 x 6 paper pad - Renew used for yellow background (part of the 6 x 6 paper pad club so email Kim if interested)
Tim Holtz Distress ink pad - Frayed Burlap used to soften the yellow background paper
Inkssentials Ink Blending Foam 10/Pkg used to dispense distress ink on background
ATG used to put the card together
Thanks for stopping by today.
Wednesday, July 3, 2013
Vintage 4th by Jearise
This card was easy to make and I like the way the look turned out in the end. I used Graphic 45 (Le Cirque Collection) paper for the striped background. I then used a blue designed 6 x 6 sheet from Echo Park's For the Record 2 pad (Email Kim if interested) for the middle and finally I used used Bazzill paper (Email Kim if interested) to stamp my generic design on.
To get my vintage look, I used Tim Holtz Ranger Distress Ink in frayed burlap and inked the edges and ran the pad across the surface of my bottom and middle. I then used my finger to smudge the ink and to lesson it's color. For the stamped middle, I used Tim Holtz Ranger Distress markers (Email Kim if interested) to color a acrylic stamp. Once the image was stamped, I sprayed it with Perfect Pearls Mist in heirloom gold. Finally, I layered my card using my ATG tape and gun and added the peals for something a little extra.
Happy 4th of July everyone!
Thursday, June 27, 2013
Thank you card by Cindy
Today I am sharing my Cutter's Creek Design Team project. Kim, the owner of Cutter's Creek store has a Yahoo Store Group. She offers all different types of clubs for her customers. There are adhesive clubs, embossing clubs, ink pad clubs. I joined the most recent clubs, 6x6 paper pad club and the Anna Griffin Cuttlebug folder club. This month I recieved the 6x6 paper pads This and That and For the Record 2 by Echo Park. I also received the Anna Griffin cuttlebug folders Foundry and Mayfair Floral. These folders are absolutely gorgeous. I thought that it would be fun to create a project using all of my new goodies.
I used the Art Philopsophy Cricut Cartridge for the flower. I cut is at 2.0, 1.75, 1.5, inked the edges with Tim Holtz Tea Dye Distress Ink and attached it with a brad. Be sure to email Kim if you are interested in any of these products or visit the store for other products.
I also have a video for you today, showing how I put it together.
Thanks for visiting today!
Cindy
Tuesday, June 25, 2013
Bookend Drawers with Lori
For today's project, I wanted to complete this Kaisercraft bookend that I got a while back. My intention was to make it for my future expanded craft room to hold up my sketch books, but as soon as my daughter saw the pearl paint going on, she tried to claim it for her room. We'll see who wins in the end, but I think it's gonna be me this time!
This bookend is one of the wooden items from Kaisercraft that Kim can special order (just ask her!). I coated it first in a white pearl paint that I had in my paint rack. Once the paint was dry, I used a Tim Holtz Distress Ink pad in Evergreen Bough to add sheer color to the paint while keeping its shiny look.
The chipboard boxes are easy to assemble using Glossy Accents. I hold them in place while I count to 60 or so in order to prevent them from popping open. Once dry, I used more Distress Ink, in the Evergreen Bough, Spiced Marmalade, and Vintage Photo along the top edges of every drawer. I then
covered the front and part of the sides in paper using Scor Tape. My papers are from a 6x6 My Minds Eye paper pad. (This one is not in the store, but you're sure to find one that you like!) I trimmed them down to 2 3/4" high strips, and trimmed them to fit the "finger hole". I adhered the papers to the front and about halfway around the sides using the 1/4" width of Scor Tape.
I distressed the edges of the papers using a sanding tool; a nail file would probably work too. Lastly,
I decorated the fronts with vintage buttons from my stash and some metal brads from the Graphic 45 "Staples" line. Kim does not carry these in the store, but she may be able to special order them for you.
I hope you enjoyed my final project here! I know I sure enjoyed making it, just like the rest of my projects for Cutters Creek.
Wednesday, May 29, 2013
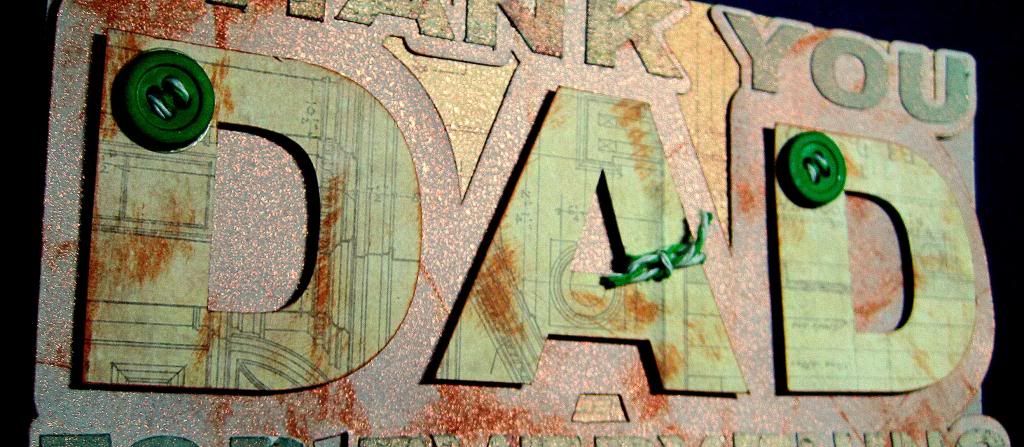
Thank you dad by Jearise
I used the Tim Holtz Idea-Ology Paper Stash Paper Pad-Kraft Resist to make the card. This paper is great for making masculine projects.
I have to show you a close up side view so you can see the Glimmer Mist I used. I just love this stuff and find I spray it on almost all my projects now just to give them that little extra touch. Also, these mist that add a touch of glimmer and glitz to your projects come in almost every and any color you can think of.
(I must add that my letters are more of the yellowish color like in the first picture but every time I tried to get a good picture of the Glimmer Mist, the letters would turn out more green in color.)
Here's a close up of the "D" and the "A." You can see how I used Tim Holtz Distress ink pad in Tea Dye to give them a distressed look.
My final touch came with the buttons and twine. I used Doodle Twine in the Primary Colors Pack - green.
I used my go to glue - Scotch Quick-Dry Adhesive and my go to tape gun - Scotch Advance Tape Glidder to hold it all together.
Thanks for taking a peek today and I hope I've given you some Father's Day inspiration.
Jearise from Lorby's World saying so long for now and looking forward to next time.
Wednesday, May 15, 2013
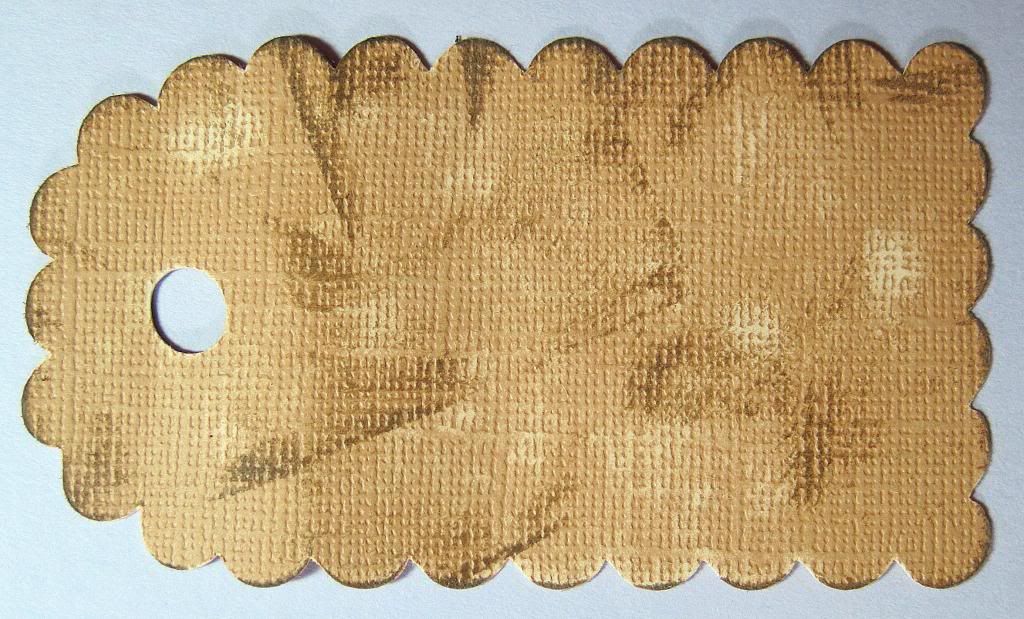
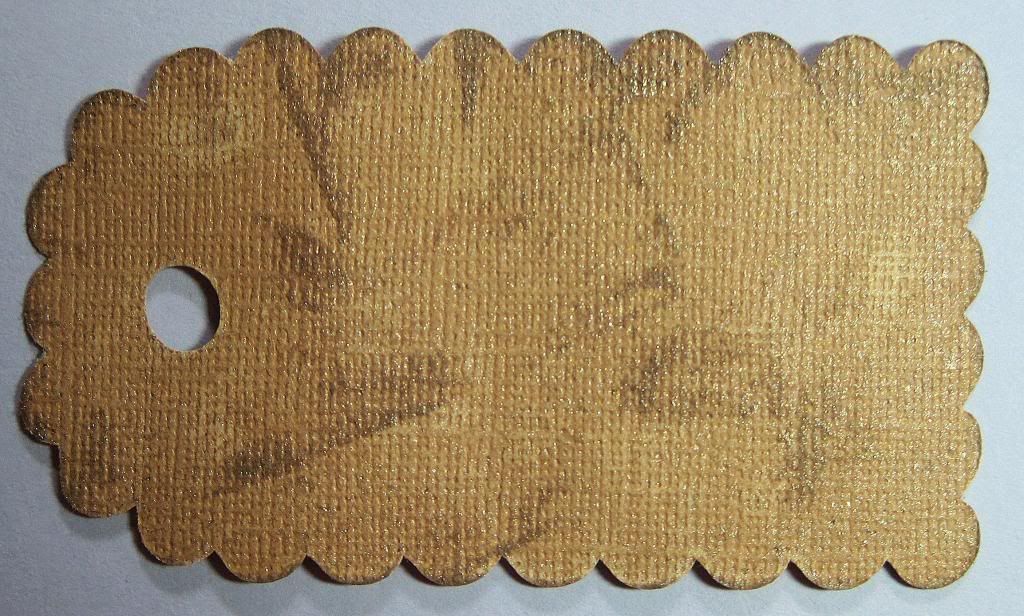
A Golden Tag by Jearise
Today I have another tag to show you. I was never one for tags but have started making a few lately and love what I can do with them. I think I like the idea of working on a smaller scale.
I started with Core'dinations papers and used the Sweet Tooth Boxes cartridge to cut out this lovely tag. There are more then boxes on this cartridges (Check with Kim about ordering it.)
I then sanded and used Tim Holtz distress ink (frayed burlap pad) on the tag.
Next I added Perfect Pearls Mist (heirloom gold). It's hard to see unless you enlarge the pictures.
The flower is from the Flower Shopped cartridge by Provo Craft (Check with Kim about ordering it.) and I used Tattered Angels (Starfish) for the flower petals and Stickles (yellow) for the center.
It's been a pleasure to show you another tag and I hope that I have inspired you to try a tag if you haven't made a few already.
Thanks for stopping by,
Jearise from Lorby's World
Monday, May 13, 2013
Hip Hip Hooray!
Tuesday, April 23, 2013
Envelope Mini Book
Monday, April 15, 2013
Happy Birthday Card by Deanna M
For my project today I am sharing the birthday card I made for my mom who's birthday is later this month.
My card base is a cream card stock cut and scored to make a 4 1/4" X 5 1/2" card base. All of my paper is from the Secret Garden paper pads by Graphic 45. I used papers from both the 8" X 8" and the 6" X 6" paper pad. I cut a purple mat at 4" X 5 1/4" and then cream paper at 3 3/4" X 5". Next I cut a mat using my Silhouette Cameo. I cut the shadow at approximate 3 1/2" and the base layer at 3". I ran the cream scalloped through my eBosser and embossed it with the Swiss Dots Cuttlebug folder. (If I could only have one embossing folder the Swiss Dots folder would be my choice. It is so versatile.)
I inked all my mats with some Tea Dye Distress ink and a sponge dabber. I had a piece of cream lace with pearls on it that I used a paint dabber to apply some of the Tea Dye distress ink to. I applied the lace to my card with some Scor-Tape.My dress and hanger are a Memory Box die. (No Kim can't get these yet, but I keep asking her! One of these days soon I hope she can). I cut my Hanger from some Kraft card stock and then inked it with some of the Tarnished Brass Distress Stain. (Distress Stain is a special order item, but don't hesitate to ask). The pearls I added to the waist of the dress are some I cut off from the lace. I adhered the dress to the scalloped mat with some foam tape.
I cut 6 flowers using the George and Basic Shapes cartridge and inked them with some of the Shaded Lilac distress ink. I used my Petal Roller by Imaginisce to make my roses. I hot glued the layers together. My leaves were cut at 1" and are from the Flower Shoppe cartridge (Heart). I inked my leaves with Peeled Paint distress ink and a sponge dabber. I also creased the center of the leaves and inked them with the Peeled Paint distressed ink to create a center vein in the leaf. I adhered the flowers and leaves to my card with some scotch quick dry adhesive. I added a pearl to the center of one rose using some bisque liquid pearls.
I stamped my sentiment with some Rich Cocoa Memento ink. Lastly I added a small butterfly from my stash.