Showing posts with label Sweet Tooth Boxes. Show all posts

Wednesday, May 15, 2013

A Golden Tag by Jearise

Hello,

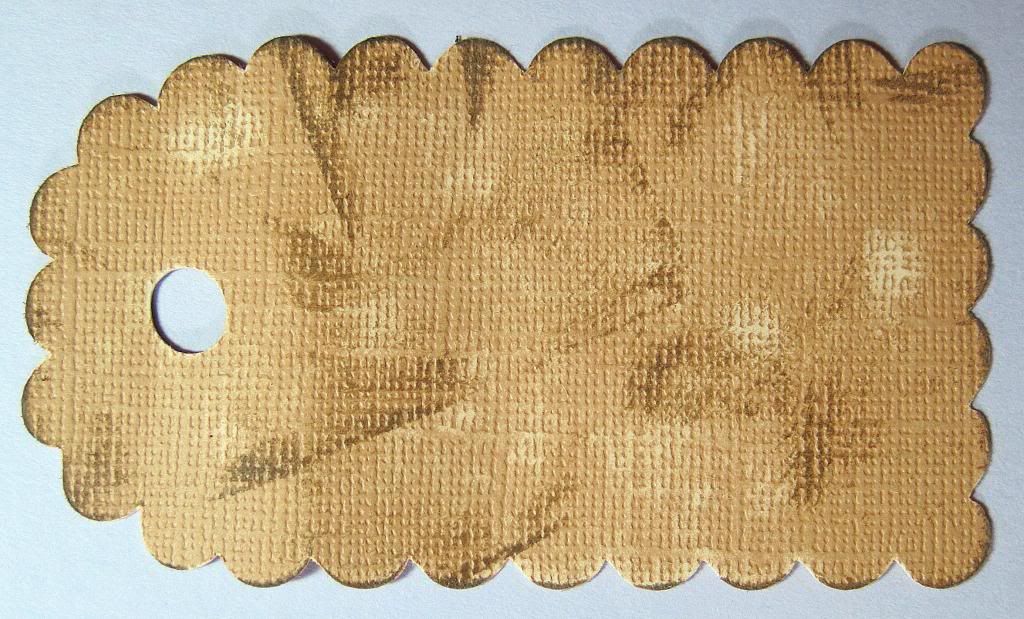
Today I have another tag to show you. I was never one for tags but have started making a few lately and love what I can do with them. I think I like the idea of working on a smaller scale.

I started with Core'dinations papers and used the Sweet Tooth Boxes cartridge to cut out this lovely tag. There are more then boxes on this cartridges (Check with Kim about ordering it.)

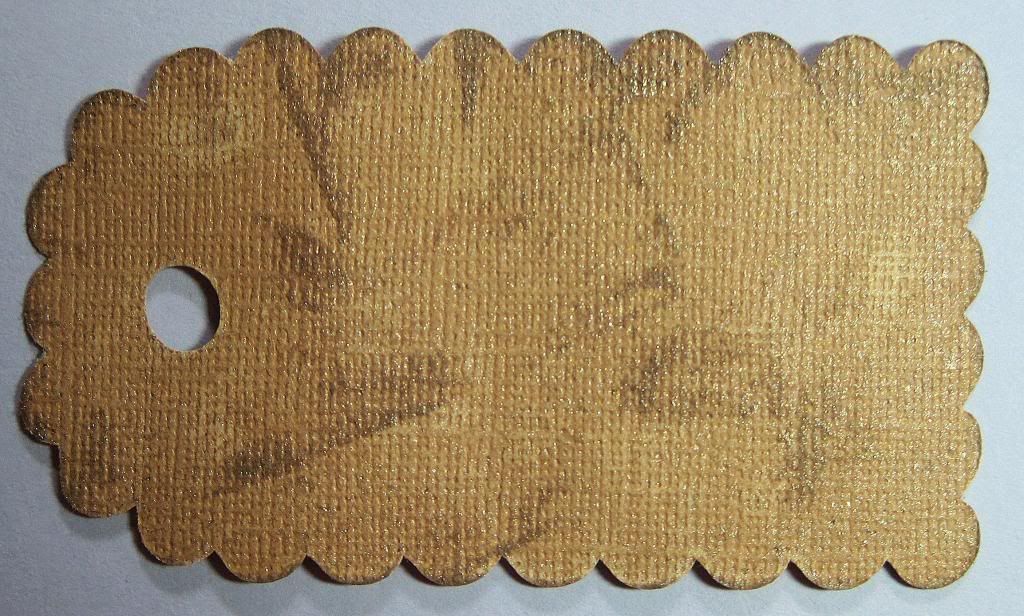
I then sanded and used Tim Holtz distress ink (frayed burlap pad) on the tag.

Next I added Perfect Pearls Mist (heirloom gold). It's hard to see unless you enlarge the pictures.
Finally I ended up with this...
The flower is from the Flower Shopped cartridge by Provo Craft (Check with Kim about ordering it.) and I used Tattered Angels (Starfish) for the flower petals and Stickles (yellow) for the center.

It's been a pleasure to show you another tag and I hope that I have inspired you to try a tag if you haven't made a few already.

Thanks for stopping by,
Jearise from Lorby's World

Wednesday, April 17, 2013

Sweet Shop Box

I am very excited today. This is my first post as part of the Cutters Creek design team. I love to decorate my bay window in my kitchen so when I saw the cute sweet shop box on the Cricut Sweet Tooth Boxes cartridge I knew what I had to make. (Kim can order this cartridge for you.)

I cut the box at the cartridge recommendation of 10 inches.


I had fun making this box with different papers. The roof and accents are My Mind's Eye Nostalgia paper and if you look closely in the windows you'll see a fairy and Mrs. Rabbit and her little ones. These pictures are from Graphic 45.
I used different colored Stickles glitter glue to add bright color, glitter and texture to the grass, windows, and flower. I used Liqued Pearls for the door handle and sweet shop sign.

Before adding on all the pieces and accents, I used Tim Holtz Distress Ink Pad - Tea Dye to smug the edges of the box and the accents I cut out.

I used Scotch quick-dry adhesive to glue the box together. This is my go to glue because it drys quick and is strong.

This is such a fun spring/summer box to make and use as a decoration and it goes so lovely with all my other knick knacks in my window.

Friday, February 22, 2013

Rabbit Chinese Take Out Box

Hi Everyone and Happy Friday - Today I am here to share with you a cute little Easter Rabbit basket made with Cricut Sweet Tooth's Chinese take out box and Cricut George Basic Shapes.

Here is the how-to:
Cut and assemble the Chinese take out box at 6 1/4" from Sweet Tooth

From George:
Face: Circle at 2"
Ears: Long Oval 2" (white with shadow turned on)
Paws: Oval at 1"
Nose: Heart at 1"

I inked the everything in Pink and added some ribbon to the chinese take out box only because I didn't have grass - so need to get some grass....
If you don't have the Sweet Tooth cartridge - It is a must have - Kim can special order it for you.
~Tee


Thursday, April 26, 2012

Cupcake Box by Tee


Hi everyone, this is Tee and my first project as a guest designer here at Cutters Creak. I am excited to share with you the cupcake box I made using the Sweet Tooth cartridge. Cricut made it easy to ensure a cupcake fits in each box by providing recommended cutting sizes on each project. I cut my box at 11" using cherry patterned paper and bazzill paper.
 I covered my icing with stickles and added two different widths of ribbon for a big bow on the back. I then cut a 2" rosette from the Ribbons and Rosettes cartridge and rolled paper with twine to make a candle. I then added some stickles to the top of the twine. I also added rhinestones to some extra bling. 


I hope you enjoyed my project as much as I enjoyed eating the cupcake I used as a prop for this box.

Thursday, July 21, 2011

Gingerbread House Treat Box by Deanna M


This month on the Design Team blog to help everyone start thinking about their holiday crafts we are featuring some Christmas in July project. My project today for you is this cute little treat box. A friend gave me the new Sweet Tooth Boxes project cartridge and when I saw this sweet house in the book I knew what I wanted to do.

I started with some kraft card stock and using the suggestion in the book cut my house and it's layers at 10". To make the house you have to cut 2 of the actual house. Because I wanted to dress mine up a little and add a Christmas Tree to the inside I used my Gypsy and hid the window on one side of the house so it wouldn't cut. I also hid the flowers and the flower boxes because I wasn't using them. I hope you can see the tree I added to the inside of the house. I cut the tree at 3.1" using my Imagine and the Snow Angel Cricut Imagine Cartridge. I used Scor-tape to assembly the house together. I added some clear acetate to the window of my house so it looked like glass. I cut the grass for the house out of white and ran it through my Cuttlebug and the D'Vine Swirls embossing folder.  I then ran it upside down through my Xyron and covered it with some chunky glitter and adhered to to the sides of the house.
To dress up the outside of the house I added some Polar White Flower Soft along the roof line and edge. To the front of the house, I added a brad for a door knob and using the Snow Angel cartridge and the layers feature on my Imagine I cut two pots of poinsettias to place on each side of the door. I then used my Jolly Holidays Lite cartridge to cut a wreath that I attached to the door.

I added some Christmas Red Stickles for the berries on the wreath and also the ornaments on the tree. I used some Star Dust Stickles to some of the poinsettias to help them stand out and add a little more bling. The roof slides on to the top of the box and over those two solid pieces that act as a handle. It was a lot of fun making this and I am ready to fill it later this fall with some yummy goodies!
Related Posts with Thumbnails