Showing posts with label Stickes. Show all posts

Tuesday, June 4, 2013

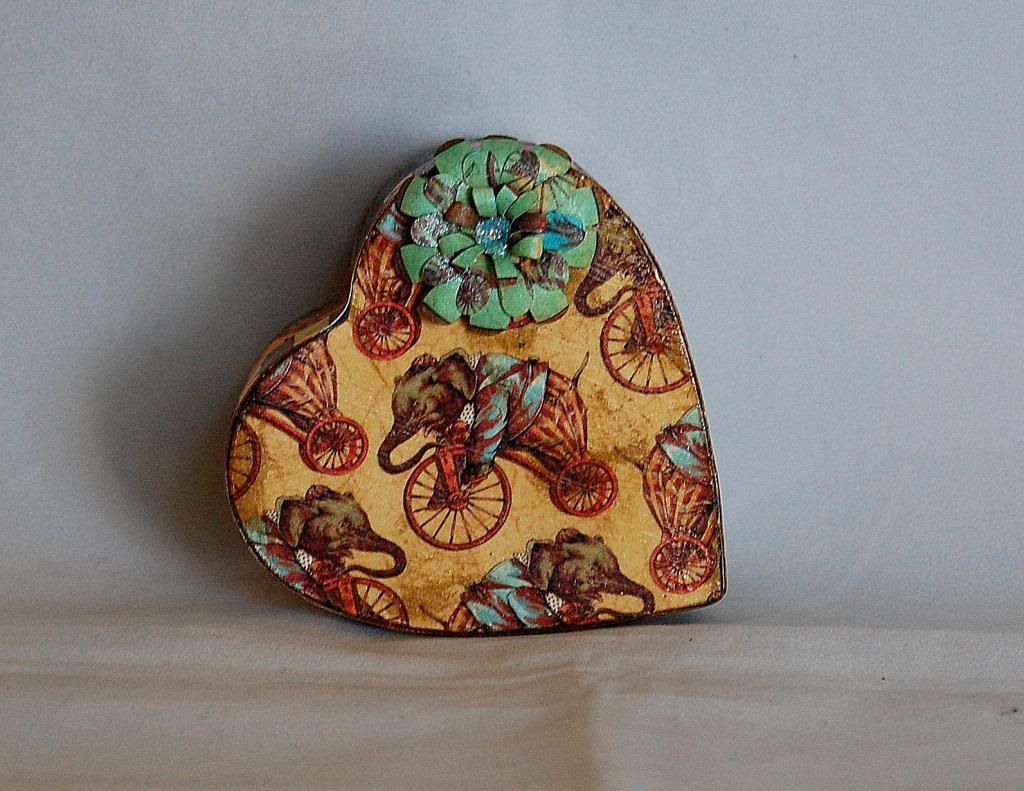
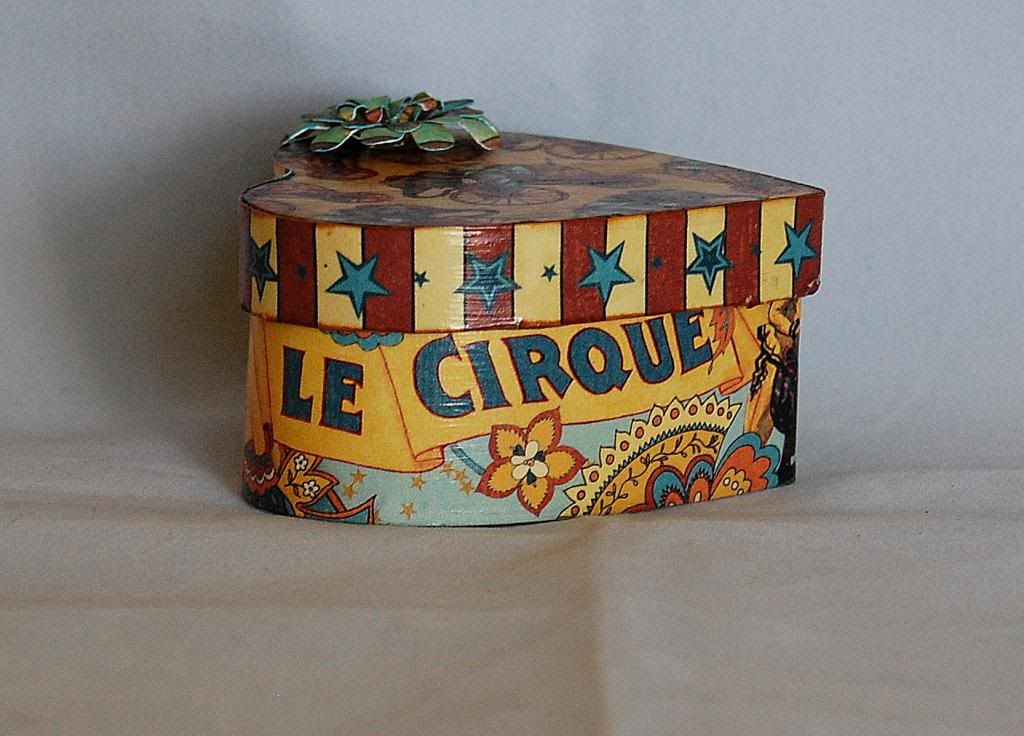
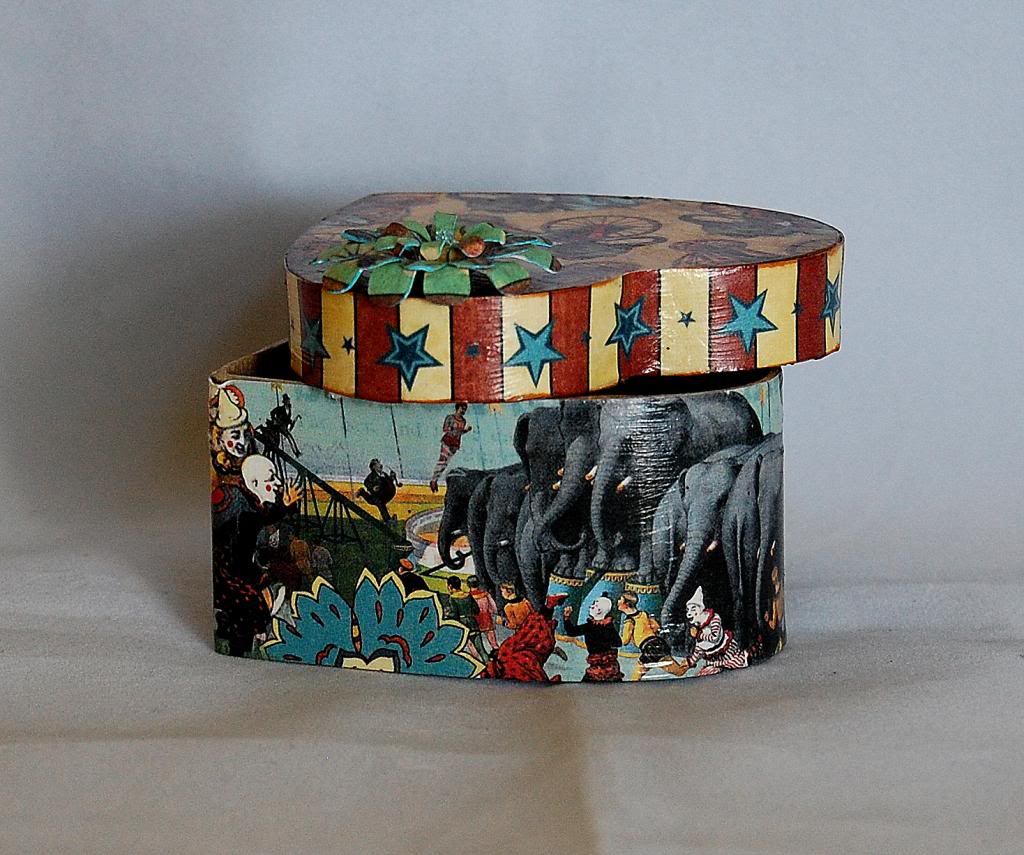
Le Cirque Graphic 45 tricket box by Jearise

Today I am showing off a paper mache ticket box I decorated using the Le Cirque Double-Sided Paper Pad from Graphic 45. I discovered that Mod Podge works perfecting for attaching the paper and bringing out bright colors. Please contact Kim if you would like to order some Mod Podge.


Here are the directions on how I decorated this box.

First, I measured the sides of the boxes height and then I cut out the strip and played with wrapping it around the box to show different scenes. I decided I liked the elephants on one side and words on the other so I brought the paper together in the middle of the heart and made sure it overlapped some before cutting.  It's important to have it over lap in case you cut it shorter than you thought you were.

Once I had the paper Mod Podged on, I went back and trimmed it down to the edge of the top of the box using my utility knife and scissors.

Then on to the top....

I centered my elephant in the middle of the box and trimmed around the outside edge using my utility knife and scissors and then I Mod Podged the paper on.

I did the same thing with the trim for the top sides that I did with the bottom sides of the box.

I then went back and inked all the edges and added a touch of ink to the paper on the top and sides as well using the Tim Holtz Distress Ink Pad-Tea Dye.

I added some of the Tattered Angle's glimmer mist and a flower I made using the Cricut Cartridge Flower Shoppe. I used some Stickles in Baby Blue for the center of the flower. I attached the flower using Scotch quick dry adhesive.

There you have it in a nutshell, an easy project that is fun to do and doesn't take a lot of time. I even let my 8 year old decorate her own box using my paper scraps.

Have a great day! Jearise


Wednesday, May 15, 2013

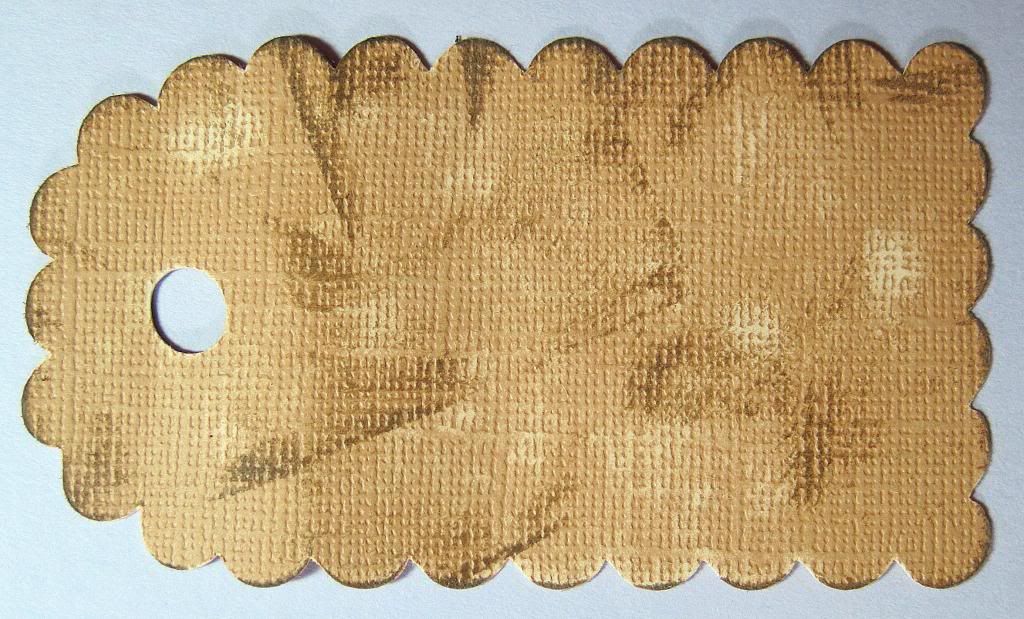
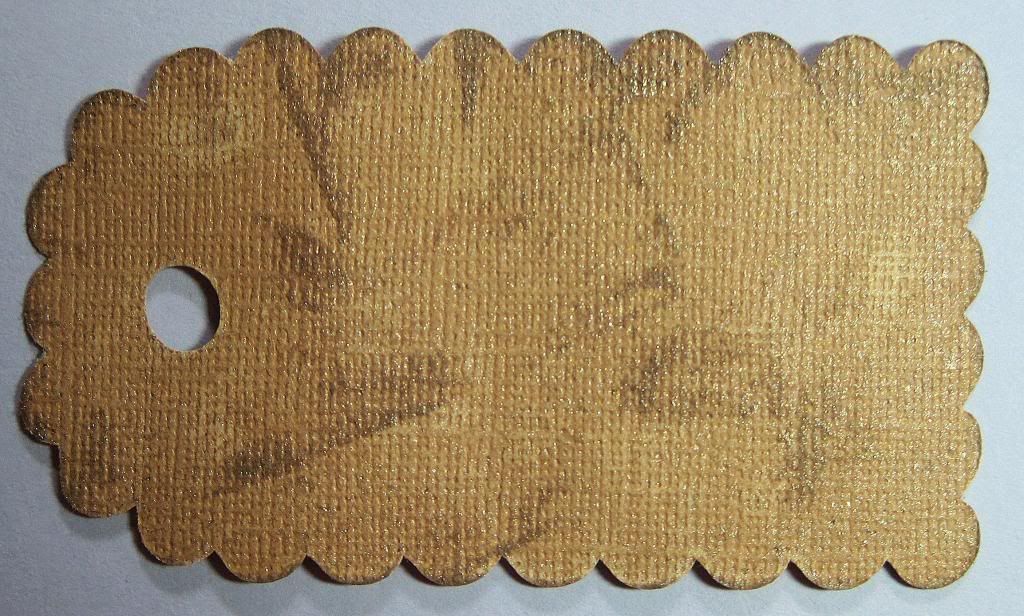
A Golden Tag by Jearise

Hello,

Today I have another tag to show you. I was never one for tags but have started making a few lately and love what I can do with them. I think I like the idea of working on a smaller scale.

I started with Core'dinations papers and used the Sweet Tooth Boxes cartridge to cut out this lovely tag. There are more then boxes on this cartridges (Check with Kim about ordering it.)

I then sanded and used Tim Holtz distress ink (frayed burlap pad) on the tag.

Next I added Perfect Pearls Mist (heirloom gold). It's hard to see unless you enlarge the pictures.
Finally I ended up with this...
The flower is from the Flower Shopped cartridge by Provo Craft (Check with Kim about ordering it.) and I used Tattered Angels (Starfish) for the flower petals and Stickles (yellow) for the center.

It's been a pleasure to show you another tag and I hope that I have inspired you to try a tag if you haven't made a few already.

Thanks for stopping by,
Jearise from Lorby's World

Tuesday, May 7, 2013

Fairy Tag by Jearise

Today I decided to showcase a fairy gift tag I made. I rarely ever make a gift tag but after making this one I want to make more. I love how it turned out and hope you like it too.


I used my Cricut Expression and the cartridge Plantin School House to cut out the tag. (Ask Kim and she can order the cartridge for you.) The Fairy image is from Graphic 45 - Once upon a Springtime.  I then sprayed the tag and the fairy image with Perfect Pearls Mists in Perfect Copper. I found a paper flower I had and also used the Perfect Pearls Mists for that. The fairy wings were outlined in Stickles. Finally, I used Scotch Quick Dry Adhesive to assemble all the pieces except the pearls. I used my glue gun on them.

Here are close ups of the wings and flower.


I love the way you can change a plain white paper flower into something so beautiful by just spritzing it a few times.


So until next time, I'm sending you some happy fairy wishes.

Thursday, March 7, 2013

Baby Mini Album by Deanna M


We hope you are enjoying our full week of projects in honor of National Crafting Day. Today is my day and I have for you today a Baby Girl Mini Album I made for a friend of my daughter's who is having a baby in May.

I cut the album using my Silhouette Cameo at 5".  All of the patterned paper in the book is cut at 4 1/2" and is from Prima. I used the Sweet Fairy collection which is currently sold out in the store. If you are interested in it, let Kim know and she may be able to order it for you.

I also use Stickles, Memento Ink, Zip Dry and Scotch Quick Dry Adhesives to adhere my elements to the album along with some stickers from my collection. The book is bound using some Doodlebug Baby Girl twine assortment.

Now, I have a video for you that walks you through the book page by page.


I hope you will let me know what you think. Leave us a comment telling us how you have been liking the week and what you are doing during National Crafting Month.

Saturday, March 2, 2013

3D Cake Box

Many of you know my love for 3D projects. I made this box using circles from Cricut then cut some strips of paper to make the box and lid. On Top is a flower, inked and stickled. I love how this turned out! I have a video on my blog on how to take basic shapes (like a circle on this project but a heart in the video) to make it a 3D project. hope you check it out.

~~Tee


Thursday, February 28, 2013

Doily Dies with Lori

How much are you loving those new Cheery Lynn doily dies in the store?! They are just gorgeous, and I love the design I ordered to try. Due to some technical difficulties, I only have one photo of my project for you today. (Someone mislaid my camera charger...) It doesn't quite do this beautiful card justice, but for now at least, it will have to do!


I wanted to use my English Tea Party die in a different way, so I made a giant rosette.  I just cut 2 doilies from the same paper, then I scored them using my Scor Pal.  I just laid the doily on the board, lining up 2 high points across from each other on a score line and scored. Then I rotated it to 2 low points ans scored again.  I continued all the way around, then repeated for the other doily.  I cut down one score line on each doily into the center of each, then accordion folded them. I overlapped one section and adhered them to each other with a bit of Glossy Accents.

I made a 6 x 6 card base from black cardstock, and added a border of black diamond Stickles.  After that was dry, I adhered my rosette using more Glossy Accents.  I used some circle punches to create a center. I layered them with ATG adhesive and adhered the whole thing using more Glossy Accents.  I added some ribbon and a bow to balance my design.  You can't see it in this photo, but I also used Copic Spicas in Blossom, Silver, and Pitch Black to highlight portions of the picture in the center of my rosette. (I will try to add another photo once I find my charging cord!)

This particular design is currently sold out in the store, but there are lots of other beautiful designs to choose from.  Or, if this one is on your must-have list, be sure to contact Kim and ask her about another shipment.

Items available from Cutters Creek:
Thanks for stopping by today! I hope you enjoyed my project.

Saturday, November 10, 2012

Simple Christmas Card by Tee


Hi Everyone, I want to share with you a simple card I made using the new December 25 Cricut Cartridge and Plantin Schoolbook.  

Supplies Used
White Ink
Diamond Stickles
Candy Cane Stickles
Golden Rod Stickles
3D Dots
6x12 Cardstock (folded in half)
Black Cardstock

After I created my card I used a white ink pad and swirled it around on the cardstock to give it a flurry snowy look... I then cut out the City border from Plantin Schoolbook using the fit to length feature at 6 1/2" and cut the Santa from December 25 also using the fit to length feature at 5 1/2.  I added both to my page using 3D dots to pop up Santa.   Then I added a big blog of Candy Cane Stickles to the reindeer's nose, Diamond Stickle dots all over the page to make it look like snow (or someone said stars, ok).  Finally, I trimmed my border to 6" and used the Golden Rod Stickles on the buildings to make it look like lights coming from the windows.
Beginning to end (not including drying time) this card was finished in about 15 minutes..


Related Posts with Thumbnails