Showing posts with label Flower Shoppe. Show all posts

Wednesday, May 15, 2013

A Golden Tag by Jearise

Hello,

Today I have another tag to show you. I was never one for tags but have started making a few lately and love what I can do with them. I think I like the idea of working on a smaller scale.

I started with Core'dinations papers and used the Sweet Tooth Boxes cartridge to cut out this lovely tag. There are more then boxes on this cartridges (Check with Kim about ordering it.)

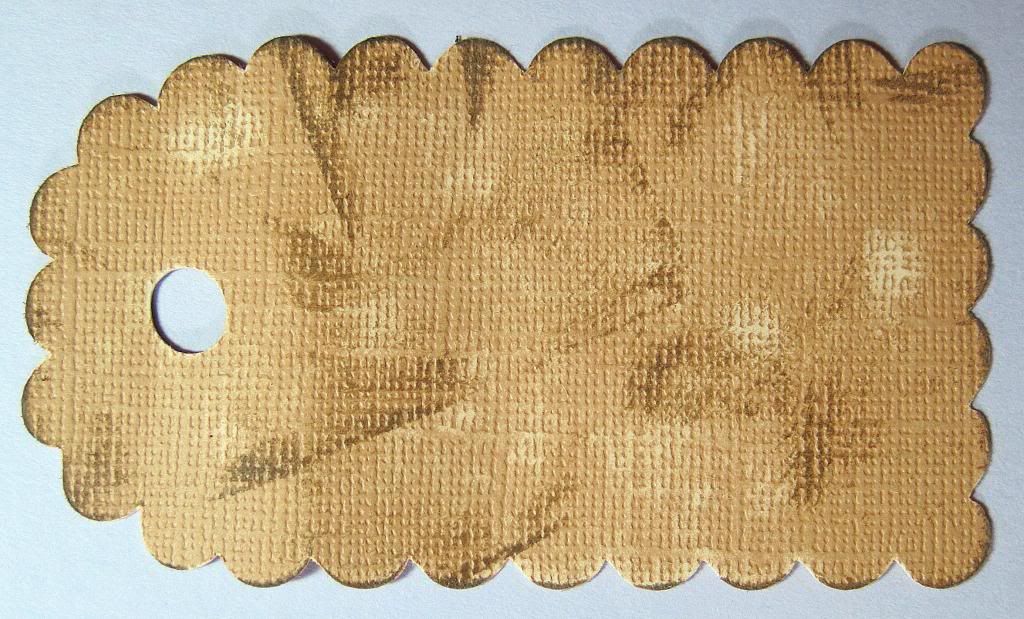
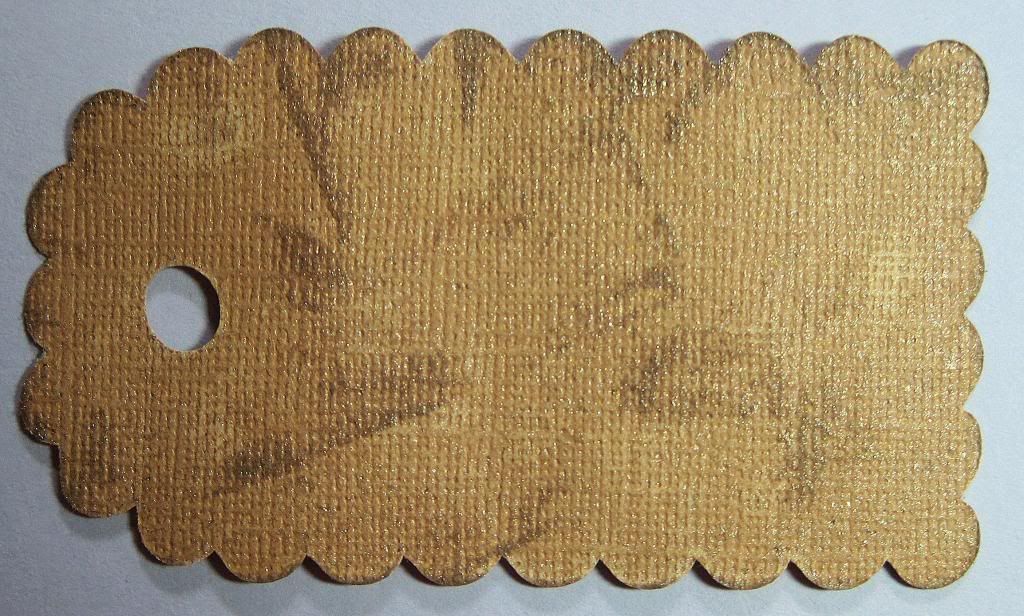
I then sanded and used Tim Holtz distress ink (frayed burlap pad) on the tag.

Next I added Perfect Pearls Mist (heirloom gold). It's hard to see unless you enlarge the pictures.
Finally I ended up with this...
The flower is from the Flower Shopped cartridge by Provo Craft (Check with Kim about ordering it.) and I used Tattered Angels (Starfish) for the flower petals and Stickles (yellow) for the center.

It's been a pleasure to show you another tag and I hope that I have inspired you to try a tag if you haven't made a few already.

Thanks for stopping by,
Jearise from Lorby's World

Tuesday, September 25, 2012

Cricut Flower Shoppe Flowers by Tee


I have gotten a lot of very positive feedback on my roses made with the Flower Shoppe cartridges that I decided to make a video to walk you though making them.


See the video here:


I cut my flowers at 2 1/2" and inked with Tim Holtz Distressed Inks.

I hope this video inspires you to make your own! If you do, please make sure you post so I can see.


Monday, July 9, 2012

A Ladies Diary Tio by Tee

Look what I did with three pieces of Graphic 45's a Ladies Diary patterned paper, one sheet of tan cardstock, half a sheet of chipboard and embellishments from my stash....

First, I cut my chipboard into three pieces 3x6, 1x6 and 6x6. I then cut apart my patterned paper and used Scotch Quick Dry to glue the papers onto the chipboard. Then I got out my Tim Holtz Distressed Ink Pads in Frayed Burlap and Victorian Velvet and went around all the edges using Tim Holtz foam applicator.


  I used my Cricut and Flower Shoppe Cartridge and cut some rolled flowers at 3" and 2". I applied a heavy coat of Victorian Velvet.I used a straight pin and some beads used several glue dots to hold it in place.I added some stickles and rock candy to finish it off.


I then made a Dresser Card


And finally a small gift box.

Friday, May 25, 2012

Flower Tutorial by Tee

I was playing with my Flower Shoppe cricut cartridge again today and decided to share with you step by step directions I created the flower for this thank you card

I cut three set of flowers from Flower Shoppe at 3”, 2 ½ and 2”
Take scissors and cut notches into each pedal as seen here 

Ink each pedal 

Take a stylus and rub it over the entire flower pedal by moving the stylist in a circular motion 


Pinch the middle of each pedal as seen here 

Curl the edges of each side of the pedal back as seen here then apply glue to each tab and glue 


Play with each pedal until it has the look you want. Place glue in the center of each flower and stack alternating the pedals as you go. Drop in some pearls or any other embellishment. Add stickles around the edges of each pedal.


I hope you found this easy to follow and make your own soon.
~~Tee
Related Posts with Thumbnails