Monday, October 8, 2012

Cricut Flower Shoppe Flowers - Two More! Video


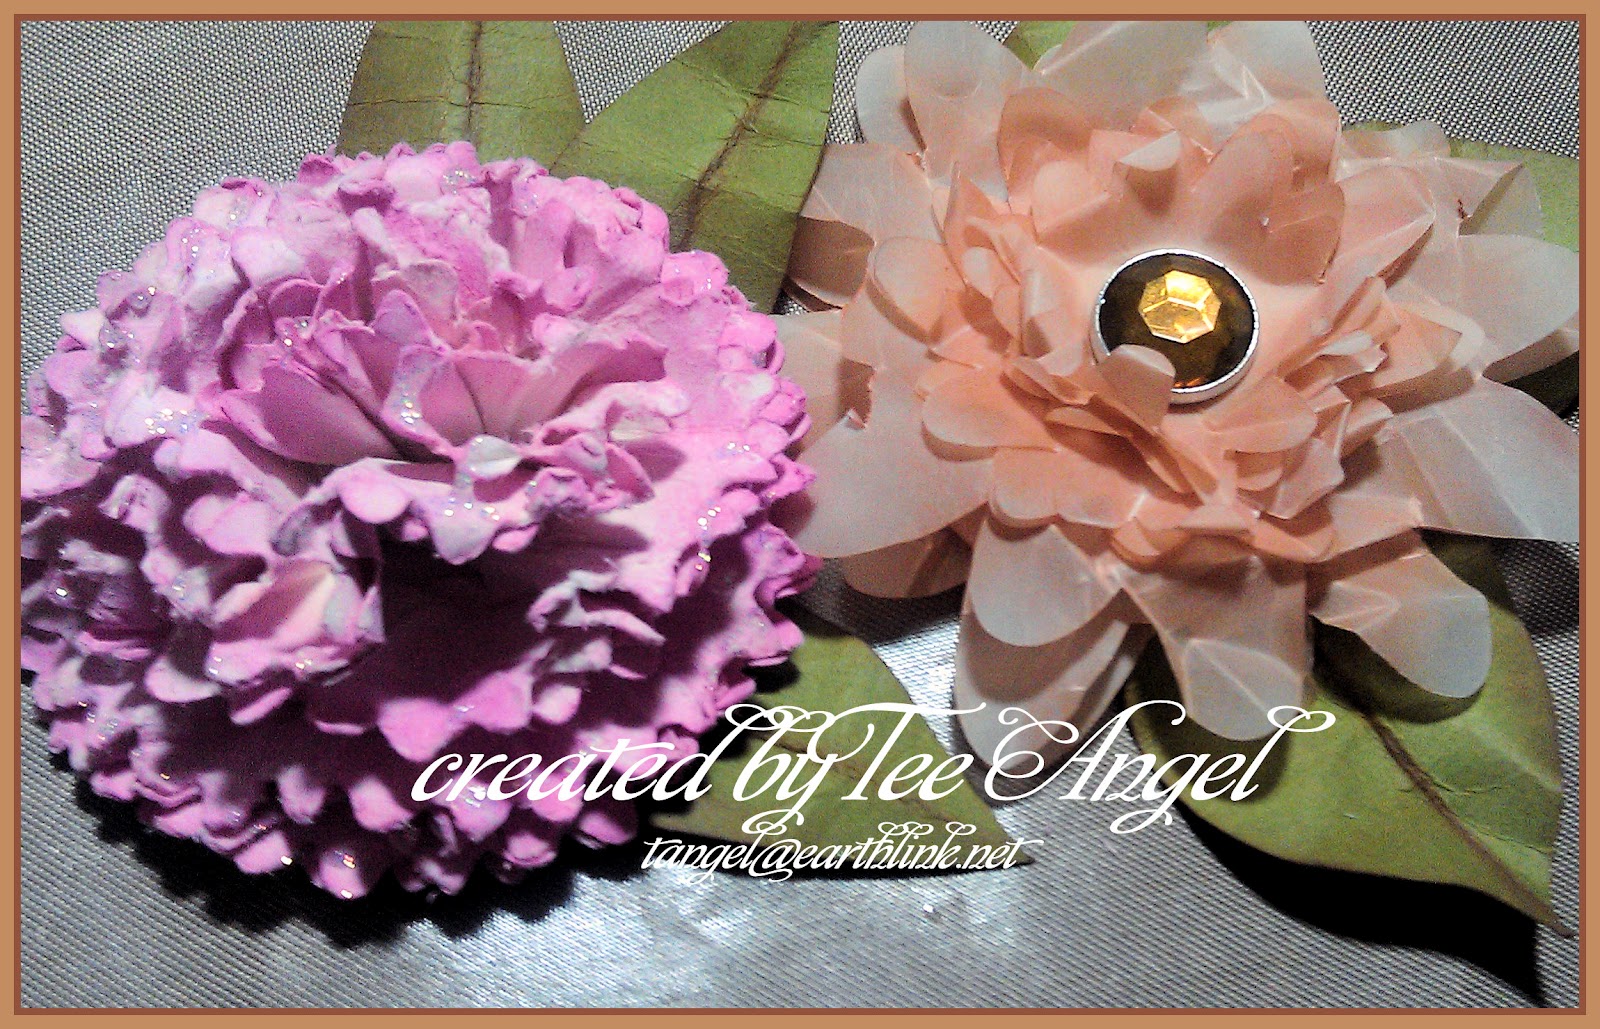
Here are two more flowers made using the Flower Shoppe Cricut Cartridge. The technique used in both of these flowers are the same, just different flower cut, size and paper type.

Hope you enjoy and it inspires you to make your own. (share if you do).

~Tee


Bird Song Card with Lori

I'm back from my little hiatus in September, and I wanted to share a pretty card with you today. Do you ever fall in love with some papers but wonder what to use it for?  I felt that way about these beautiful Bird Song papers from Graphic 45.  I usually buy my paper to use for scrapbooking, then use my leftovers and scrap pieces for cards. I'm sure I wouldn't have a use for a whole pad of this paper for scrapbooking, so I LOVE the smaller 8x8 pads that G45 offers!


I cut the fan shape, greenery, and all of the flowers using my Cricut and the Pagoda cartridge.  The circles are also cut using the Cricut; I used the Center Point feature to cut the circle around the portion of the geisha image I wanted.  I outlined everything using a gold leafing pen, and embellished with brads and ribbon from my stash.  Everything is adhered using ATG tape and the Kool Tak clear foam adhesive pads.  Finally, I used my Copic Spica pens to glitter up lots of stuff!  I used the red on the designs on the fan, clear to outline the flowers on the background paper, and both colors on my focal image.  It's very difficult to get the glitter to show up in photos, but this one shows it the best:

I used clear on the white portion of the kimono nearest her neck, then red along the next strip.  I even used clear on the pink flowers in the image.

I hope you enjoyed today's card!  I'd love to hear your comments on it.
Sunday, October 7, 2012

Christmas Card by: Ms. Pebbles

Hello everyone!
Here's a quick Christmas card I made. It really didn't take me that long and with minimal supplies. Great time saver! :)
My goal was to design this to look like a wrapped present. The background paper is from my stash and I used Distressed Ink on the edges of the card base. After cutting out a couple of solid color strips of card stock, I used my eCraft Purpleberry to cut the circle and I attached my hand tied ribbon bow using Scor tape.
Thanks for looking! :)


Saturday, October 6, 2012

Welcome to World Card Making Day!

Today is World Card Making Day and the Cutter's Creek Design Team is asking all our card making friends out there to come play with us. We are encouraging all card makers to make a card and link it up to this post. There are no prizes or giveaways. we wanted this day to be about you the card maker. We wanted to give everyone a place to share their creations and help inspire each other.If you don't have a blog and want to share your card please feel free to email it to me at deannamulder at live dot com.

To help get you started, some of your Cutter's Creek Design Team members offer up the following inspiration:

Chris

Deanna


Fran
Pebbles
Tee


Now it is your turn! Create a card with any colors and theme you like and post it here. Help inspire and honor your fellow card makers. Thanks so much for playing along with us.


Friday, October 5, 2012

Christmas with My Mind’s Eye by Chris


I made this quick and easy Christmas card in less than ten minutes. I started with brown kraft paper folded to a 5x7 card size. I then cut the lighter swiss dot piece from My Mind’s Eye All is Bright pack at 4 &/8 x 4 1/8 inches. The darker piece (the reverse side of the swiss dots) was cut to 3 1/4x 4 7/8 and glued slightly overlapping the lighter piece. I fussy cut the word Joy from a chevron piece in the same pack and glued it over the seam. Then using my distress ink Peacock Feathers, I stained a piece of seam binding, crumpled and dried it, tied it into a two loop bow and attached with a Glue Dot .

Wednesday, October 3, 2012

Castle Card by Chris


Template designed by “A Path of Paper”, svg created by “Denise’s Scrapbooking Room”, and card decorated and played with by me! This was so much fun and so perfect for my granddaughter. I used tons of scraps and loads of goodies from Cutters Creek.

I love how the Pow Glitter Paper just glimmers as the roof and as the name-tag base. The name-tag was cut with my ebosser (yes I got one and it works beautifully). I used Spellbinders Shapeabilitie: Fancy Labels Two that I further glitzed with Nestabling. The flowers are from my stash, but they have a touch of glam—Times Square Glitter Glam that is! It was one of the clubs choices, and I think I’ve fallen in love with it.

The flower centers and turrets are decorated with I-Rock Glams. Outlines of the turrets and different stripes are all stickles: Orange Peel, Silver, Thistle, and Aqua. Another Spellbinders Shapeabilitie—Parisian Accents—backs the numeral 6, which is embossed with silver and trimmed in I-Rocks. The sentiment page is doodled with Gel pens. The mat is inked with Victorian Velvet Distress Ink and the stamp is perfect pearls on versamark. But the surprising elements (at least for me) are the new Deco Stickers from Ecstasy that edge the sentiment mat. They don’t look like much on the sheet, but when you peel them off and lay them on the page, there is a bit of dimension and color. I am so glad I ordered these in every color!


If there is something I’ve used and you don’t see it in the store, be sure to contact Kim. She always tries to help out and can point you in the right direction or maybe, special order something for you. Have a great day.

Monday, October 1, 2012

An Experiment with Mirrored Paper by Chris


I cut a mirrored sheet to fit in a Tim Holtz Alterations embossing folder (but there are a ton from Cuttlebug that would work just as well), and ran it through my ebosser using the basic embossing sandwich. It made a deep, crisp emboss.

To highlight the embossing I took off the protective sheet and swiped the front of the card with Stazon Ink and set it aside to dry. I had a sliver of silver left over so I inked and embossed that with the word poison from another embossing folder.

I matted the larger piece and used my Perfect Layers tool to cut at 1/8, and the sentiment on a piece of orange ribbon along matted both the image and the sentiment were then mounted on a 5x7 cardbase. I did have some trouble keeping the mirrored piece glued down. Not sure if the embossing was so deep that it didn’t have enough of the sticky back touching the cardbase, or if the size was a bit heavy for the front of the card, but to secure it I used some Gloo adhesive. Next time I’m going to try some alcohol inks. What about you?

(Note: this surface is truly a mirrored surface—trying to take a photo and not having too much light or me reflected in it proved too much of a challenge for me--J. I hope you can see its beauty even with my poor photography skills.)
Related Posts with Thumbnails
