This is my first tutorial I’ve done for the Cutters Creek Blog. It will be a photo tutorial and I hope you will understand the steps I took to get the results using Tattered Angels Glimmer Glam Glitter Paint. (Currently this product is not stocked in the store however you can contact Kim through Cutters Creek and she can special order it for you). Oh my do I love that paint. I only have one color right now called Anchorage but will be getting more! So I painted my paper and elements with the paint to get an almost monochromatic look. It was an experiment but the outcome is awesome.
Photo One: I used Echo Park paper (This & That Charming 6 x6” Pad). The photo below shows the paper (1) in its original form. Paper (2) being painted with the Glimmer Glam Glitter paint. And (3) final look after misting the paper with water, crinkled it tightly and flatten it out gingerly to dry.

Photo Two: The crinkled paper all dried with the bottle of Glimmer Glam Glitter Paint (Anchorage).
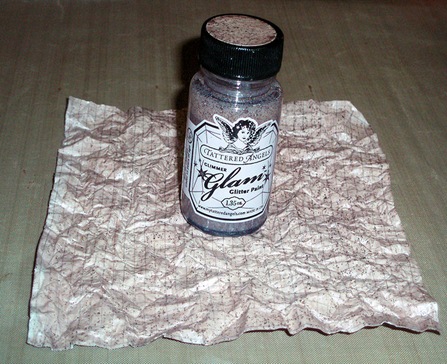
Photo Three: Shows how I used the painted paper to make my flower using Tim Holtz’s Alterations Tattered Florals. The darker paper was a dark bronze paper from my stash that I also painted with the Glimmer Glam Glitter paint to give it more of a sheen.
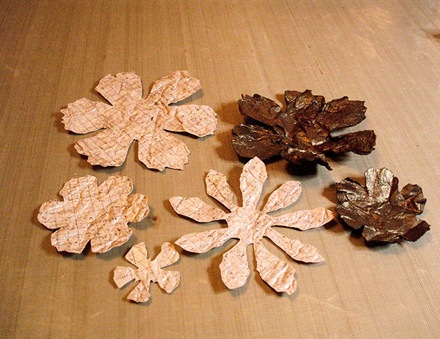

Photo Four: Shows my second element a Kaiser Wooden Flourish colored with the Glimmer Glam Glitter paint. I thought that it would not cover like I hoped but it did better than I hoped. I loved how it turned out! (The photo just does not do it justice).

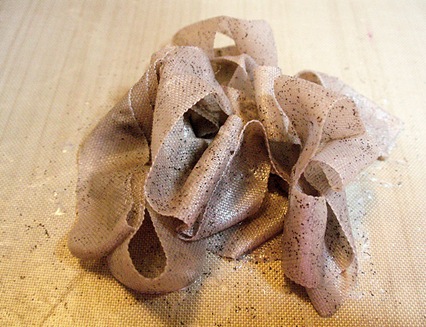
Photo Five: The last element painted was winter white seam binding. What I did was pour some of the paint on my non stick craft mat and just rolled the seam binding in the paint; almost like finger painting.

Photo Six: Results after covering all the seam binding with the paint. Once the seam binding dried it no longer had that soft feel to it. It became stiff so I knew that a bow would not look as pretty. So I pleated the seam binding on my project. (Loved the look).

Now for my finished project that I named You Are Sew Special To Me.

Inside View

Other elements used: Buttons & Swirl Dies by Memory Box, Gold Stickles Glitter Glue, Pearl Bling by Prima, Gem Brads from personal stash, Distressed areas on Front and inside of card created with Distress Ink Pad Vintage Photo and Free Font called Stitches.
Thank you for stopping by, Fran





 Posts
Posts


