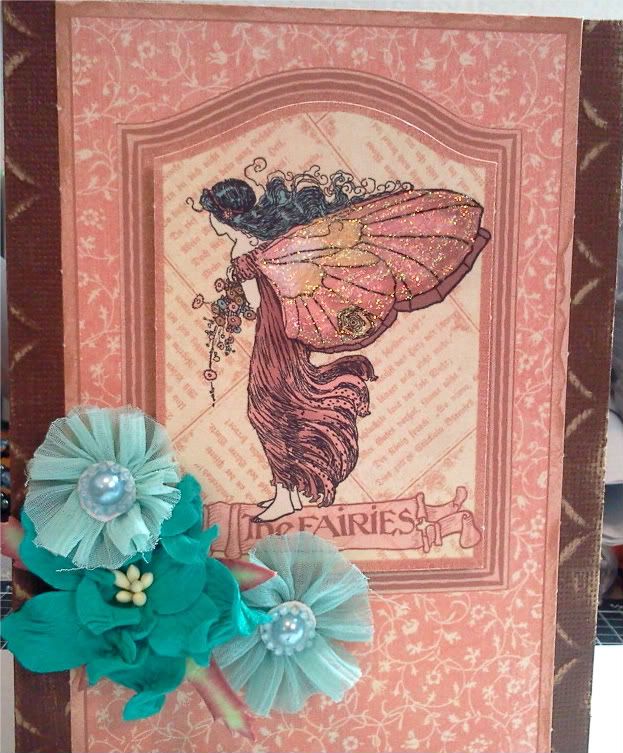
Sunday, October 20, 2013
Trick or Treat
Wednesday, October 9, 2013
Think Pink
Monday, August 5, 2013
Cuddly Koala
I have had this cute cuddly koala Marci stamp from La La Land Crafts for a while and I decided it was finally time to ink it up. Koalas were my favorite animal as a child and I think this image is adorable. I recently got a new 6 x 6 My Mind’s Eye pad from Kim and thought this image would go great with it. I love how soft the colors in this pad are. The pad is called lavender, but there’s actually no lavender it’s pinks, blues, and yellows.
I colored Marci with my copic markers to match the colors in the papers. I love chevron right now, so I had to make that the background. I picked a few more patterns to add and then finished the card off with one of my favorite Cutters Creek branded flowers.
Shopping List
Monday, July 22, 2013
Celebrate
I've colored my image with my copic markers to match the bright colors in the Echo Park paper. This is an older pack, but they have several others that are just as cute. To finish the card off, I added some Cutters Creek brand flowers. I always like having these on hand to finish off my cards. They come in a large variety of colors and styles and if the color isn't exactly what you're looking for, you can modify them with your copic markers or some stickles.
I hope you have enjoyed my bright summery card and that your summer isn't too hot to enjoy.
Thursday, March 28, 2013
Wedding Card with Lori
I pulled out one of my few wedding stamps (I think it's Bildmalarna) and my Copic Markers. I knew I wanted to use that beautiful doily die again, so I cut a circle from Xpress Blending Card to fit the center. I stamped my image on the circle and colored it with my Copics.
I made my 6x6 easel card using CTMH cardstock and Authentique papers from my stash. I placed the stopper for my easel near the top of the inside instead of the traditional placement near the bottom so it would stand up almost straight. I made sure to pop up the top strip with foam adhesive to keep it from popping closed. I also added some rhinestone brads for bling.
I raised the doily off the card front using more foam adhesive for added depth and interest. I embellished using Prima Fairytale Roses and Cutters Creek branded flowers. I inked the CC flowers to darken them a bit since they were the same shade as the darker Fairytale Roses, and I wanted to add a little more color variety. The flowers are all adhered using Glossy Accents.
It's hard to see in the pictures, but I added sparkle to the eyelet areas of the wedding dress using a clear Copic Spica pen.
Supplies available at Cutters Creek:
- X-press Blending Card
- Copic Markers
- Copic Spica pen in Clear
- Prima Fairytale Roses in Baby Pink
- Cutters Creek branded flowers Micro Roses in Pink Shades
- Memento ink in Tuxedo Black
- Cheery Lynn Designs Doily Die (I used the English Tea Party design)
- Ranger Inkssentials Glossy Accents
- Foam Adhesive (your choice of 3M or ASI Kool Tak)
- Cardstock
- Pattern Paper (I used Authentique)
- Ink to sponge flowers & paper edges (the Tim Holtz Distress Ink pads in the store would work great)
Friday, March 1, 2013
March Is National Craft Month!!! Graphic 45's Secret Garden with Kim B
I used my Perfect Pearls Mist to color some Color Me White Cutters Creek Branded Flowers and then attached some Cutters Creek Branded Micro Roses in purple to them. I put down some rhinestone flourishes for some more bling! I also attached one of the chipboard tags from one of the chipboard die cut sets, added some peel offs around the edge of the photo (you can find additional peel off stickers HERE), and then added a pretty blue bow.
I hope you enjoyed my project as I sure enjoyed making it! Please leave a comment regarding my project and tell our readers what you are doing for National Scrapbook Month.
Friday, May 4, 2012
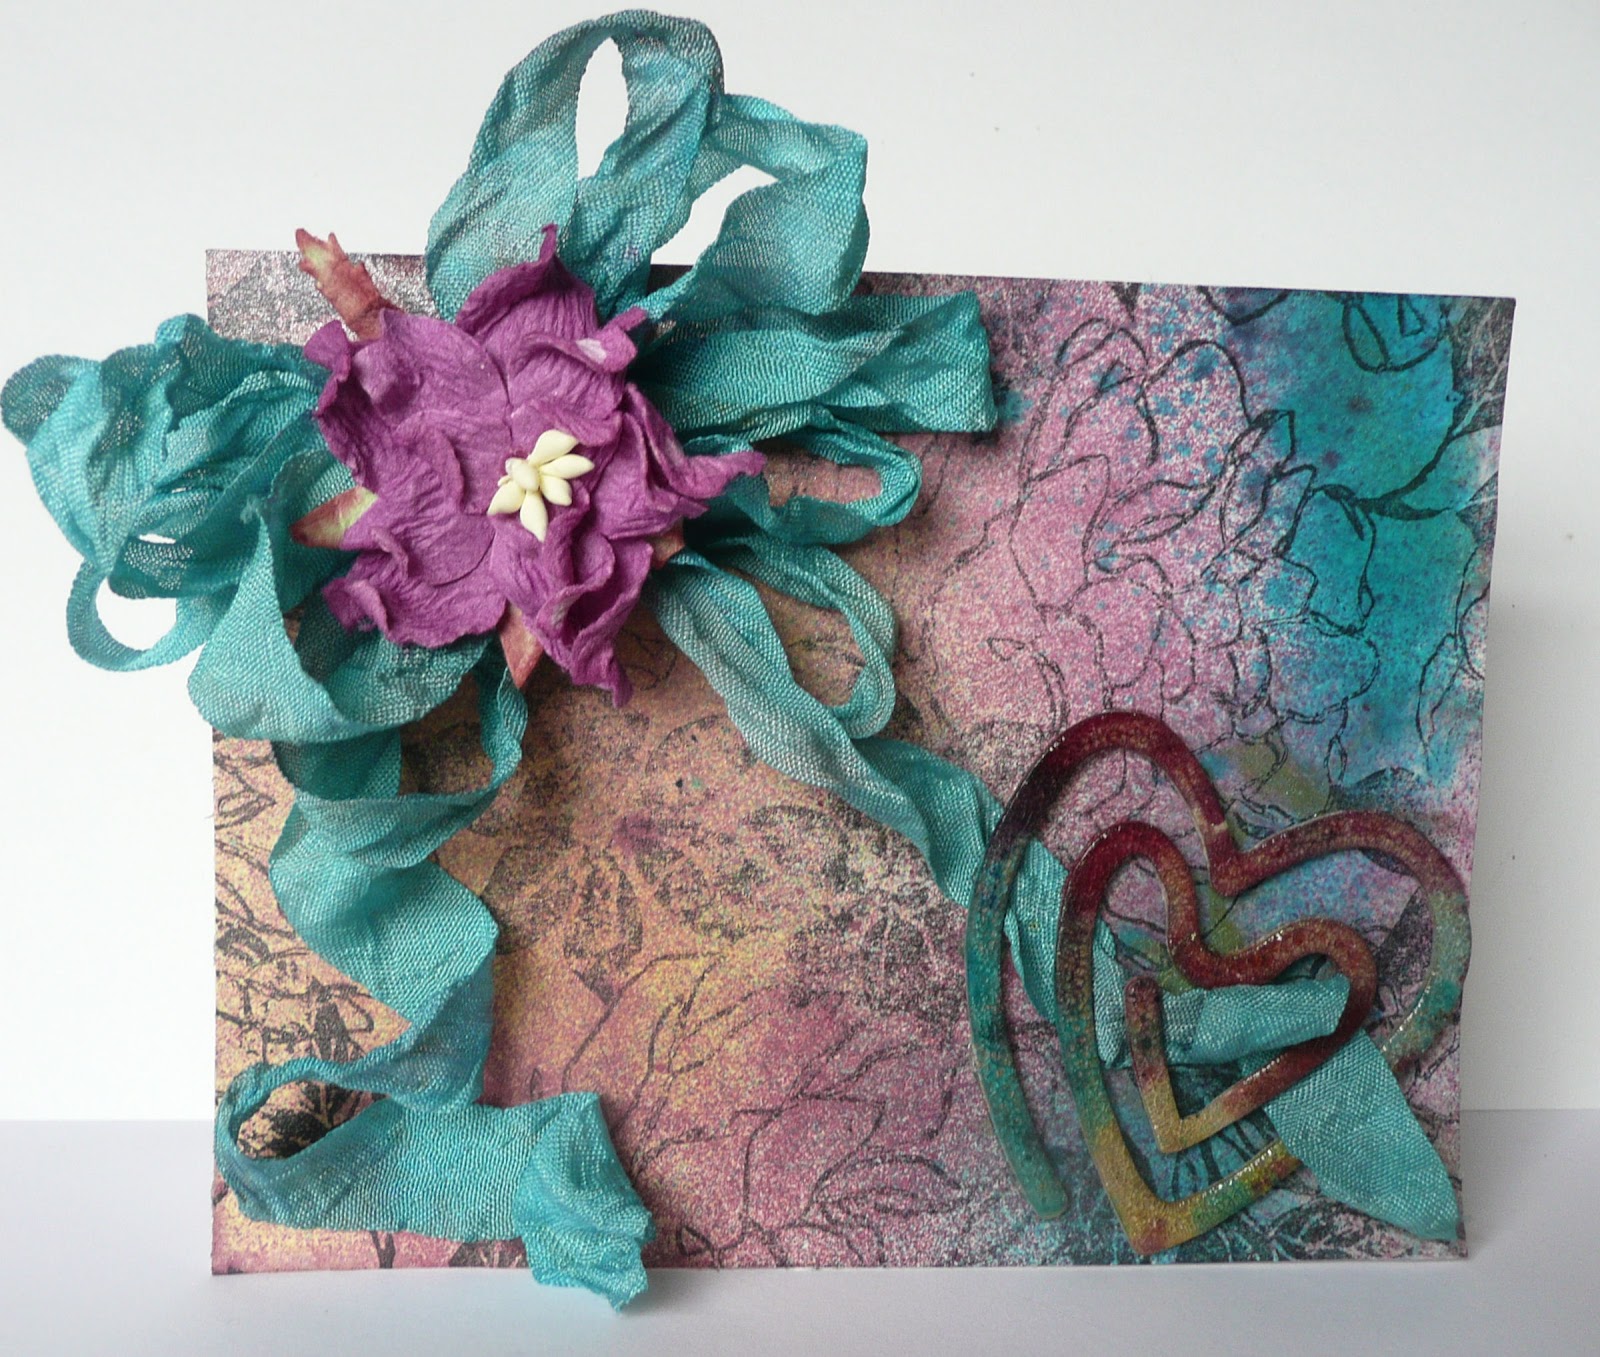
Glimmer Mist Background by Chris
Sunday, April 22, 2012
Birthday Card by Deanna M
I have for you today a birthday card I made for a friend to give to her Mom. My card base is a piece of green cardstock cut and scored to 4 1/4” X 5 1/2”. I added a mat from the Mod Squad Cut and Emboss paper pack cut to 4” X 5 1/4” and then a patterned paper mat from the Prima Botanical paper collection cut to 3 3/4” X 5. I then used Elegant Edges to cut a mat for my butterfly at 3”. I used the same paper as my first mat for the base layer of the mat for the butterfly. I then used a piece of paper from the Whitewashed Cut and Emboss paper pack for the top layer. I ran that layer through my Cuttlebug and embossed it with Sizzix Embossing folder called Dots and Flowers Embossing folder and sanded it so the colored green core showed through (and yes, Kim can order this for you. You get two folders in the package).
My butterfly on this card is once again one of the laser cut embellishments by Kaisercraft. I am so loving these embellishments. (And, yes Kim can order these for you too!) They are so easy to work with, are not too think and add a great dimension and elegance to a card. For the butterfly I started off by using my craft mat and rubbing some different colors of Distress Ink on my mat, spritzing with water and them placing the butterfly in the ink on my mat. I used Persimmon, Concord Grape and Broken China Distress Ink. I let it dry for a bit then spritzed it with similar colors of glimmer mist. Again I let that dry and then added some Glimmer Glam in Violet and a Copper color. Once again I allowed that layer to dry. I then added some Glimmer Glaze to the antenna’s and around the orange areas of the butterfly. I then went back with a bit more Persimmon distress ink. I let all that dry overnight (only because it was bedtime). The final layer I added some Pearl glimmer mist. This butterfly is so iridescent looking in person. I adhered my the butterfly to my mat with some of the ASI Kool Tak tape clear gel foam tape.
The flower I added to the card is a Cutter’s Creek Gardenia. The flower was actually yellow but it just didn’t go with the card as well as I likes, so I spritzed it with some Honey Dew Mist glimmer mist, and problem solved. It softened the butter yellow of the flower and gave it a light green color which went much better with my card. I then stamped my sentiment with some Rusty Hinge Distress Ink. Finally I added some Copper Pearl liquid pearls to the tip of each antenna. Sure hope you have enjoyed my project and that I have inspired you to get out your goodies and make a project.
Thursday, April 12, 2012
Love Bunny with Mindy
After I colored my image, I matted it with one of the fleur de lis square spellbinders. I embossed the square and then ran some ink ove the edges to highlight the embossing. I also inked the edges of all my papers to give it more of a shabby chic look. To finish the project off, I added a Cutter's Creek gardenia to the corner in yellow and grey to match the colors. I wanted to keep the card simple, so I didn't add a sentiment to the outside.
Saturday, March 17, 2012
Happy St. Patty's Day!
Cutters Creek Shopping List
copic markers
Echo Park paper
Cutters Creek branded flowers
Thursday, February 16, 2012
Happy Birthday!
I thought this little octopus was perfect for a peachy keen face stamp, so I added one and I think she looks so sweet. Cutters Creek sells a couple of different face stamp assortments from Peachy Keen and they're perfect for adding just the right facial expression to your die cuts. To finish my octopus off and give her some style, I added some faux stitching with one of my copic spica pens. I wish you could see the shimmer more in the picture it's just the right amount of bling. I also went over her face to give that a little more shine too. No self respecting octopus would head off to a birthday party without the perfect accessory and I though she would look adorable with a flower on her head. This little lily from Cutters Creek's own brand of flowers was just the perfect touch. The final element for my octopus was to attach her to the card with an action wobble so she can move like a real octopus. I finished the card off with some more faux stitching and a sentiment and it's ready to be sent off!
Monday, July 25, 2011
Melissa's Summer Cards
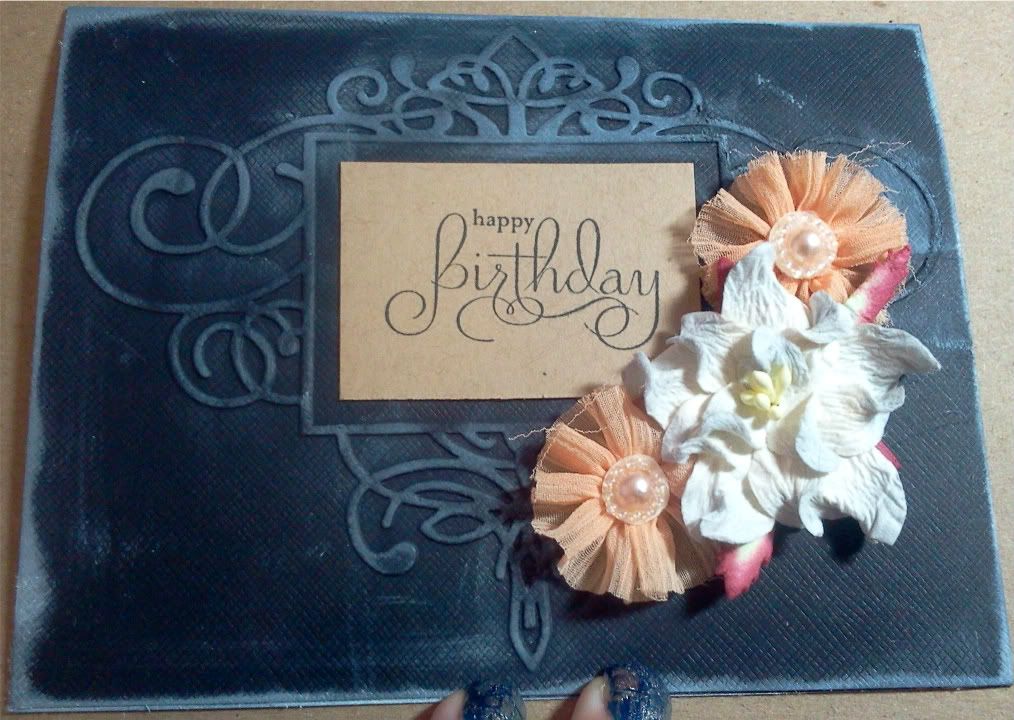
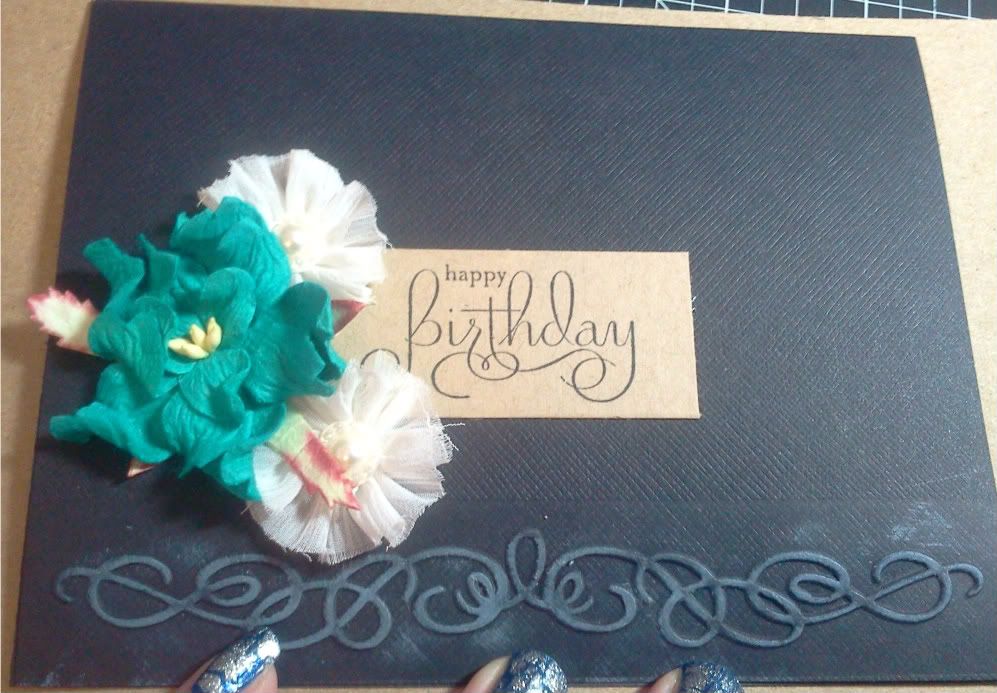
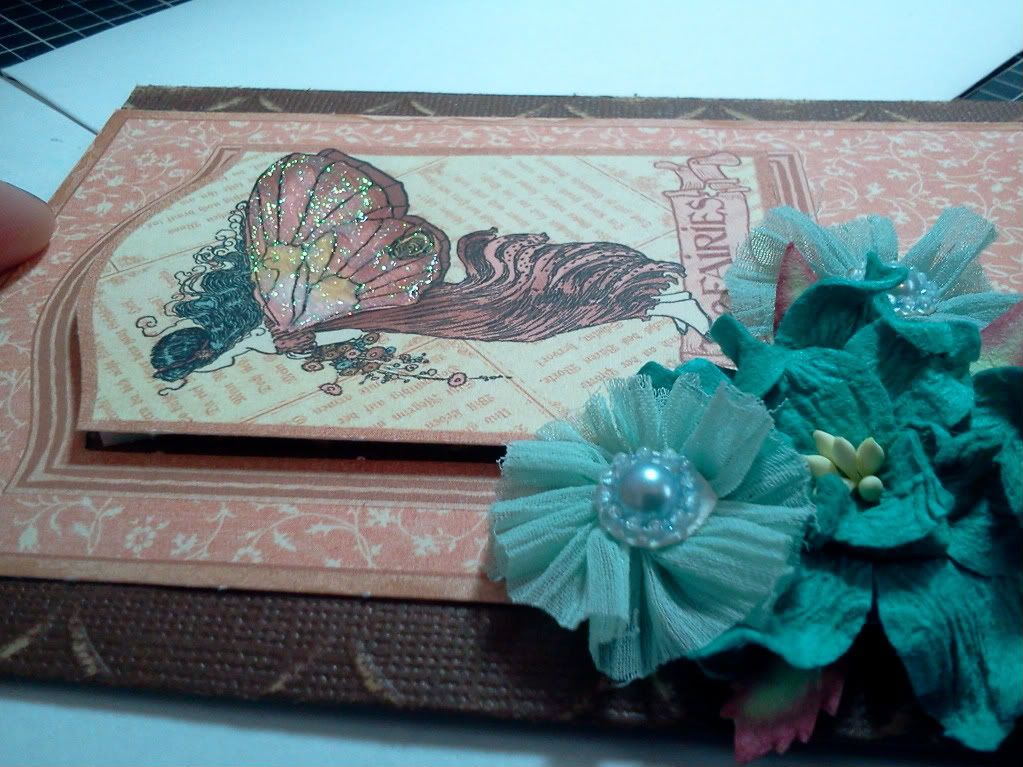
I really like the look of white ink on black paper, so I wanted the white to look a little messy on the embossed images. The first card I used Flourished Frame and added the white ink and flowers after stamping my words on some Kraft paper from my scrap paper. Who says brown and black don't go together :o) I topped it with someCuttersCreek branded and Prima flowers.
Paper: stash
Embellishments: Prima Flowers: Dimmet, Aurora. CC Flowers: Aqua Marine, B, W, G. Organic Flourishes, Flourished Frame.
Other: ATG, Glue Dots, Big Shot
Monday, July 11, 2011
Precious Tutorial Tuesday
Continuing with our Irock Tutorial Tuesdays, I decided to make a precious little baby girl card to show you how I like to use my Irock. Here are a picture of the Imaginesce supplies I used on this card.
In this picture you can see my Irock tool, a compact full of rhinestones, a couple of lip gloss like containers full of gems, and my little tray which lets me keep track of all my gems. In the tray you will see one of the applicators that comes in the lip gloss tubes. When you wet the end of the applicator, it can be used to pick up the gems and place them where you want them to go. This is a lot easier than trying to pick them up, especially if you have long nails.
Here is a picture of the card I made using the Irock gems and my Teresa Collins Baby Boutique Imagine cartridge.
I like to look for obvious places in the die cuts themselves or the pattern that look like a rhinestone would fit. In this case, the middle of the wheels was perfect for a rhinestone, as well as the point of the sentiment, and I also mixed a few into the polka dot pattern on the stroller randomly. To finish the card off, I added a couple of Cutters Creek branded gardenias. The flowers come with stamens in the middle of them. I didn’t think it really went with my bling theme, so I carefully cut them out of the flowers and added an Irock rhinestone to the center of each flower.
Using the Irock is extremely simple. First, you need to place your gems where you want them using the applicator I told you about earlier. Then you place you Irock tool on top of the gem. Here is a link to a video showing you how to use the Irock. You can feel the gem move just a little bit when the glue has melted, that’s the best way for me to know it’s done. It will go a little quicker after the tool is completely warmed up. Your first few may take a little longer. If you are looking for an easy way to bling up your projects, then the Irock is the tool for you.
Cutters Creek Shopping List
Irock Tool
Teresa Collins Baby Boutique (available for special order)
Monday, June 27, 2011
Melissa's Favorite Things

Stamps: none
Paper: Graphic 45, Cosmo Cricket
Ink: none
Embellishments: Stickles, CuttersCreek: Aquamarine; Prima Flowers:Splash,
Other: ATG, Scor-Pal
Stash: Pop Dots
Saturday, June 25, 2011
Favorite Things
Hi, it’s Mindy and it’s my turn to tell you about some of my favorite things. I love my cricut, but I have a few other favorite products as well. I LOVE stamps and copic markers. Coloring a great stamped image can be very relaxing and I don’t think anything makes a stamped image look as good as copic markers do. For this card, I used one of my favorite stamp companies- House Mouse.
House Mouse has so many adorable stamps it’s hard to pick a favorite, but I think this one called You Snooze You Lose is really sweet. The image is of course colored with copic markers. I chose the background paper I used because it reminds me of ice cream.
Patterned paper is another one of my favorite things. I can’t get enough of it. I especially love this Echo Park paper. The pack is called Dots and Stripes and it is the Candy Shoppe collection. This pack is awesome! It is full of different colors of stripes and polka dots and to make it even better- it’s double sided! I used the front and back sides of these papers to showcase the stripes and the dots.
Another one of my favorite things is Nestabilities. I just can’t get enough of them. I love how easy it is to mat your image and make it look great. This image was actually a little large and if I matted it, it would take up almost the entire card front. I cut the image, embossed it, and then went over the embossing with some pink chalk. This not only highlights the embossing, but it kind of makes the image look matted.
My final favorite thing is embellishments and one of my favorite types of embellishment is flowers. I love flowers and there are so many different types available. The new Cutter Creek Flowers are my current favorite. They come in several different types, sizes, and colors. I never have a problem finding the perfect one. For this card I used one of the gardenias up in the left corner and two of the lillies down on the bottom. I love how these flowers are not flat and add decoration and dimension to your projects.
I hope you have enjoyed reading about the design team’s favorite things as much as we have enjoyed sharing them with you.
Tuesday, May 3, 2011
Embossing With A Twist by Chris
Sunday, April 24, 2011
Cutters Creek Treat & My Fabulous Design Team!
Lori:
Chris:
Melissa:
Mindy:
Deanna: