Tuesday, April 30, 2013

Tutorial Tuesday- Make A Custom Smash Book

Hi, it’s Mindy and it’s my turn to host Tutorial Tuesday.  Smash Books are extremely popular lately and Cutters Creek has a great selection of books and products.  The books are full of great designs, but sometimes they’re just not what you’re looking for.  I’m taking a vacation to Disney World in a couple of weeks and I thought a smash book would be perfect for keeping memories and memorabilia from the trip.  A Disney themed smash book does not exist (yet), so I decided to make my own.  All you need for this project is a binding machine like a cinch or bind it all, some chipboard for your covers, cardstock, some smash supplies and embellishments. 
The first thing I did is to cover the edges of my raw chipboard covers with sharpie.  This makes it look like I’m using black chipboard for the covers and hides any raw edges. 
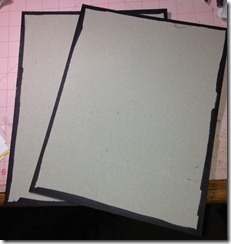
cc tut 1
My covers are 8 1/2 by 11.  After I had my edges inked up, I cut some paper for the cover.  I cut my paper at 8 3/8 by 10 7/8 so I could center it in the middle of the cover and not worry about it hanging over the edge. 
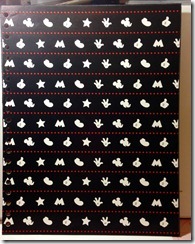
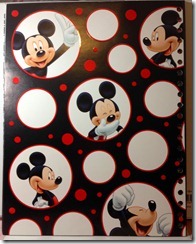
CC tut 2 This is the outside of the front cover and this is the inside of the front cover CC tut 3
Next it was time to move on to my inside pages.  The smash book pages are made of really nice strong cardstock.  To recreate that feel, I covered some white cardstock with patterned paper. 
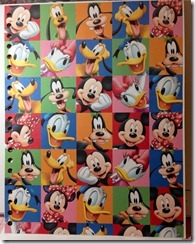
CC tut 4Some of the pages I covered completely with paper and some of them I layered with scraps leftover from another project.
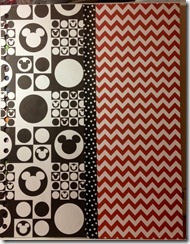
CC tut 7  I had Kim special order me some awesome washi tape in different Disney patterns and I used a strip of that down the middle of this page. 
Next step was to start on my smash supplies.  Some of them will work as is, but some of them just don’t go with my color scheme.  I found some 6x8 mailing envelopes and turned them into smash pockets.  I took one of my smash pockets and laid it down on the envelope and traced the outline.
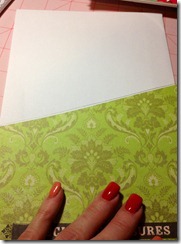
CC tut 5  Then I layered it with patterned paper and more great washi tape and cut along the diagonal.  Now I have a pocket that coordinates perfectly with my theme.
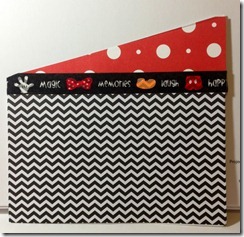
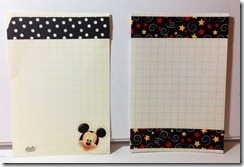
CC tut 6  It’s perfect for holding daily schedules of maps of the park.  The smash pads are perfect for jotting down notes and memories.  There is no need to recreate the wheel on this.  I dressed them up with some more washi tape and stickers to give them a Disney look.
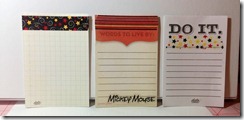
cc tut 10       cc tutn 11
I also gave the little smash calendar pocket a Disney feel with you guessed it- more washi tape and stickers. 
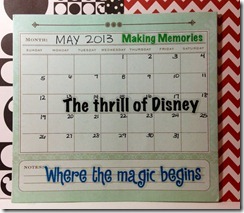
CC tut 8
Just because a Smash Book doesn’t have the exact look and feel you need doesn’t mean you can’t make it your own.  I only have 2 weeks, so I need to get to work!

Get your Smash supplies at Cutters Creek

Sunday, April 28, 2013

Hello Sunshine! by Deanna M


We have had some awesome weather the last few days and it just seemed like a good idea to make a card that  celebrated our sunshine.

For my card I made a circle easel card. It was a fun a quick card to put together. The card base and all the pieces but the bee were made using dies and my eBosser.

I used a Scalloped Spellbinder Die to make my card base, the front and the little part on the inside of the card so it would stand up. I also used a set of circle dies that Kim special ordered for me. Here are pictures of the die sets I used.


I started with a piece of  white card stock that I cut and score to make a 4 1/4" X 5 1/2" card base. I then took my Scalloped Spellbinder Dies and using the biggest die in the set I cut the die shape out of my folded card base, being careful to place the die about a 1/2" above the fold line on my card base. This created the hinge in my card and gave me the scalloped circle card. I then cut the largest die again out of a second piece of white paper so I had a complete scallop. I took my scalloped card base and scored it down the middle so I could fold it in half. I also scored it at 2" from the top of one of the scallops.  Here is a picture of the inside of the card so you can see the score lines.


Next I the circle die set the Kim special ordered for me. I cut the largest of the circle out of black. I cut the next size circle out of some patterned paper from the Echo Park Country Drive paper pad. (The store is currently out of stock but if you are interested in the paper pad please contact Kim through the Customer Service link in the store.)

Once I had adhered the different layers to the single scallop which would serve as my card front I attached it to my card base. I used my Scotch Quick Dry adhesive to put all my pieces and layers together. While the glue does dry quickly you still have a few seconds to move your layers around to be sure they like up properly. This is one of my favorite adhesives and I use it on almost all my projects.


The honeycombed pattern paper is actually the reverse side of the  blue bee paper. To get these layers, I used the scalloped dies starting with the largest and going one step down for each layer. I cut the base layer in white, the next layer in black and the final layer out of the honeycombed patterned paper. When I cut these I cut only half of the die out. Once I had them all cut I trimmed them down so I could layer them. The white layer is approximately 2", the black layer is approximately 1 3/4" and the patterned paper layer is approximately 1 1/2". I stamped my sentiment with some Memento Tuxedo Black ink. The Memento ink is my go to ink and I strongly recommend it.

Now for my little bee! He was cut at 2 1/2" from the Create A Critter cartridge. This is one of my favorite cartridges and Kim can special order it for you. I cut the base layer out of black, the second layer out of the yellow and the wing layer out of some heavy tracing paper that my DH gave me from his work. For the wings, I wanted a bit of sparkle to them so I used some Butterscotch Glimmer Glam to the wings to give them some sparkle. I added the bee to my card front with some foam tape and added some Black Stickles to the ends of the antennas.


I sure hope you have enjoyed my card. I would love to hear what you think.

Friday, April 26, 2013

Scrapbook Layout...


This is my project for today.  It's a scrapbook page with all of the papers from Graphic 45.  Most of the papers and embellishments on the tag are from My Secret Garden & French Country 8x8 Paper Pack.     All of which can be found at the Cutters Creek store.    Hope you enjoy it!


Thursday, April 25, 2013

Thinking of You Card with Lori

It seems that I am always needing some kind of a get well or thinking of you card.  (Maybe that's a sign of my increasing age, I don't know...) I like that kind of card to "feel" happy, and I decided some Secret Garden papers from Graphic 45 were in order.  Here's the most recent card I made:


I love the little cut-apart images G45 always seems to include in their paper pads, and these mini seed packet designs are just perfect and sunny looking. Layered on a couple of Spellbinders Nestabilities, this one was the perfect focal point for my 5x7 card.


I matted the focal image once, and popped that up with foam adhesive on a second matted blank.  I added Kaisercraft pearls to the four corners for a little something extra.


Lastly, I added some bling to my image using Copic Spicas in Orange, Lemon, Buttermilk, and Clear.  I hope you enjoyed my card today, and I hope my recipient has a sunny day after seeing it!

Items available at Cutters Creek:

Other Items Used:
  • cardstock
  • Spellbinders Lattice Rectangles
  • border punch
  • stamping ink & sentiment stamp

Wednesday, April 24, 2013

French Country Mini Album

Hi everyone, Welcome to my very first Cutter's Creek Store Design Post. My project today is an envelope and cards mini album. I did some modifications to the original tutorial which came from Kathy Orta. If you do a seach on Youtube for "Kathy Orta" envelope mini it will pop up for you. I used the Graphic 45 12x12 paper pad French Country. I have some pics of my album below but I also have a video which will show you every page. Some other products that I used for my album include: Scor-tape, I am partial to the 1/4 inch and a Prima Flower.


In the video, I mention that I use two different papers in the paper collection for mats and decorative elements. I have those listed below so that you can see what I mean. They ARE included in the 12x12 paper pad.


There are also other embellishments from this collection that would be really nice in a mini album.


I hope that you liked my project! Thanks for visiting me today.

Tuesday, April 23, 2013

Envelope Mini Book


Today is another project I found on You Tube.   I always wanted to make a mini book but they just seemed so involved for me.  So I searched and found this You Tube Video.
Envelope Mini Book
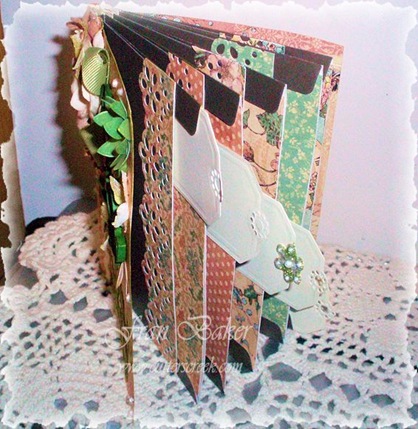
I followed the video tutorial pretty closely but I made some variations to my mini envelope book.  Below the photos are all the details of how I created my mini book and the supplies used.
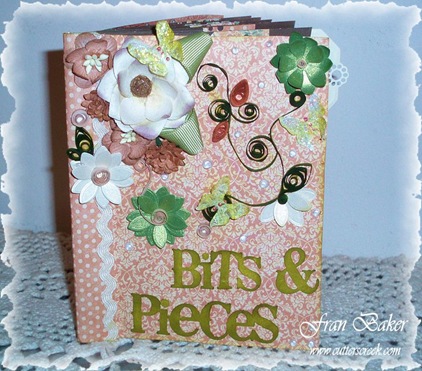
My last project was clean and simple but this one I went a little overboard and yet I like it.  I couldn’t stop myself from adding things to the cover until I ran out of room. Smile
OLYMPUS DIGITAL CAMERA

OLYMPUS DIGITAL CAMERA
I love the sentiment because that’s exactly what I am using this album for – all my bits and pieces.   I will keep tags, butterflies, flat flowers, hearts,  etc. in each envelope.  You know a place for everything and everything in its place (wink).

Details: Graphic 45 –A Ladies Diary – 8" x 8”  Paper Stack;  Inkssentials Glossy Accents; Stickles Glitter Glue by Ranger (Star Dust) and Distress Stickles Glitter Glue (Crushed Olive); Liquid Pearls by Ranger (White Opal & Petal Pink); Distress Ink Pad (Crushed Olive).
From My Stash:  Prima Flowers, Table Confetti (Wedding Collection Flowers –Green & Ivory), Butterflies (Butterfly Punch by Martha Stewart), Ric Rac (white), Sentiment (Silhouette Store), Tags by Marianne Design (LR0154), Quilled Flowers (Quilling paper strips), Five (A2-4.375 x 5.75) envelopes (dark brown), Ribbon (lt. green), Floral Border used on envelopes – Martha Stewart Border Punch.
Reminder:  If there is something I used and you cannot find at Cutters Creek Store just contact Kim Bush here and she may be able to special order it for you.  Kim ordered my Silhouette Portrait for me and I got it so quickly and love it.
Thank you for stopping by,
Fran

Monday, April 22, 2013

Earth Day Upcycle by Jearise

Happy Earth Day!

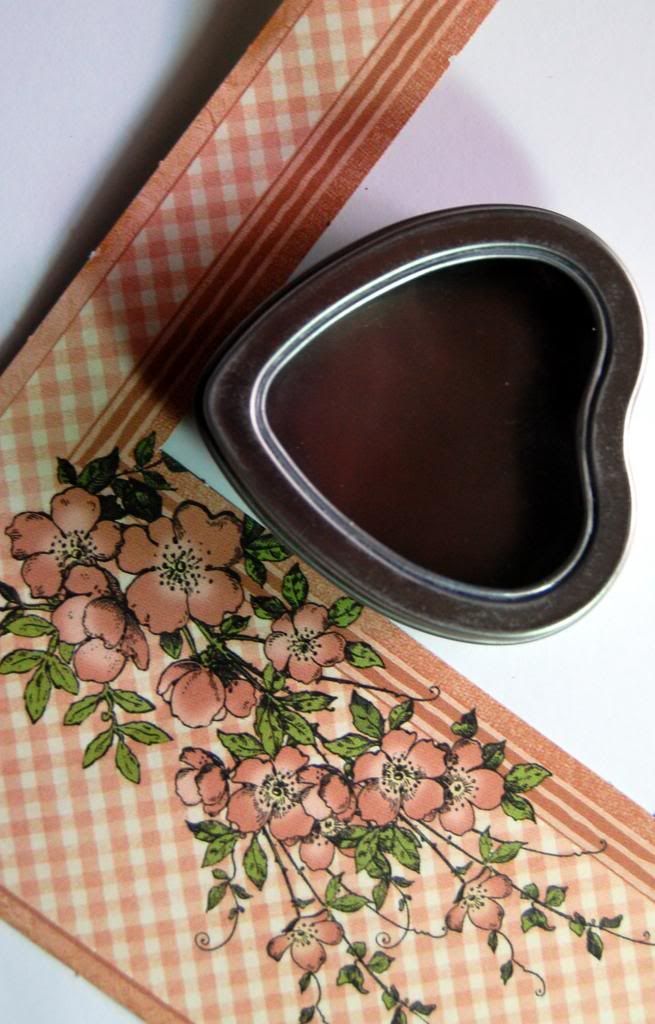
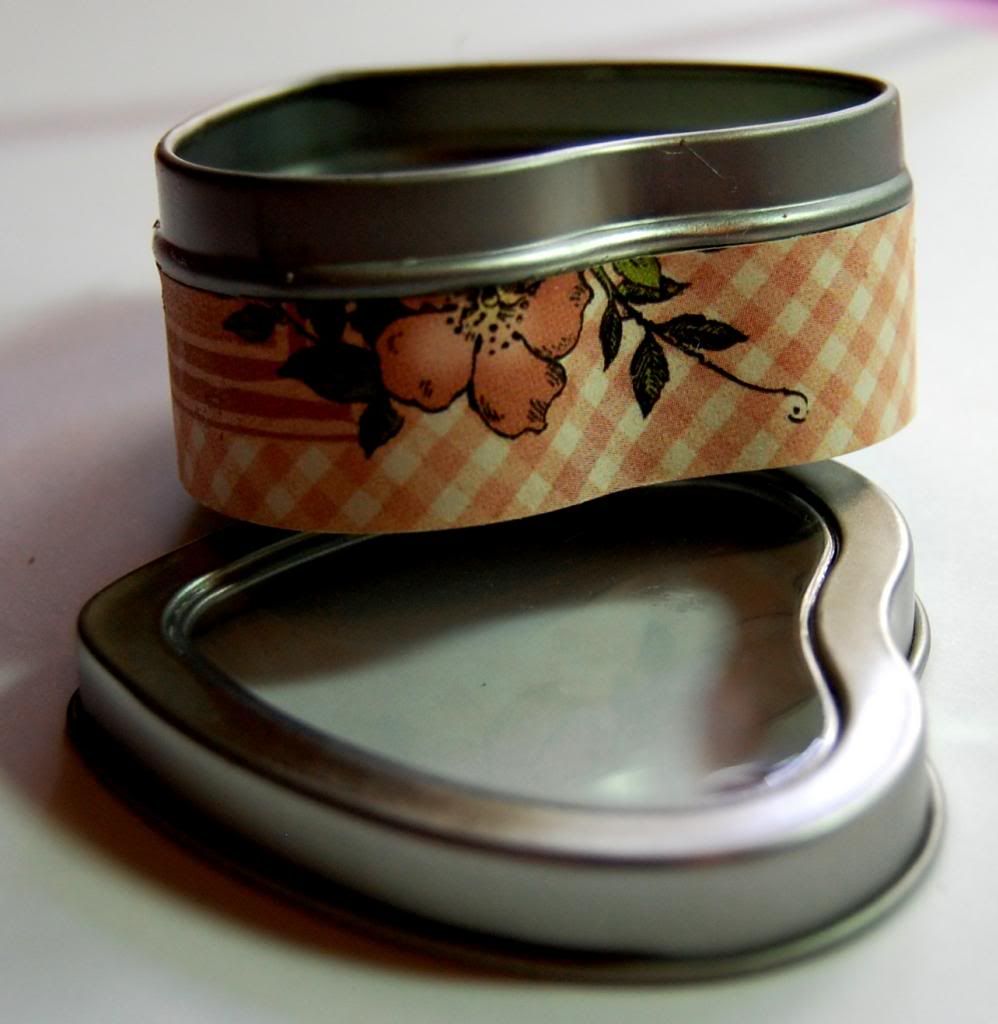
I decided to take something old and make it new, cute, and usable again. I love to brows the shelves at local second hand shops like Savers and Goodwill and awhile ago I found a bundle of heart shaped tins for a steal of a deal. I thought boy, these would be nifty for my rhinestones and brads but instead decided to upcycle them as cute little gift boxes.

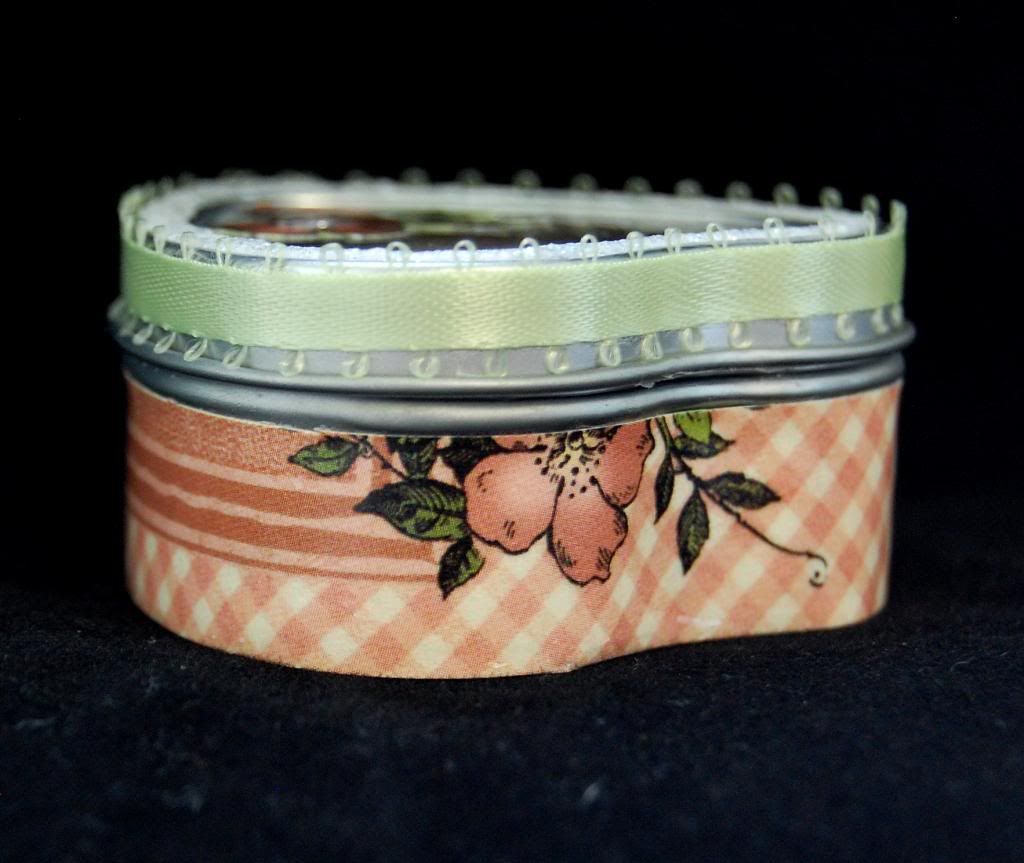
I used Graphic 45 paper for around the outside and Mod Podged to adhere it. I trimmed it to the size I needed using my Cricut trimmer and blades.
Then I took dollar bin thin ribbon and used crafting adhesive to attach that around the top.
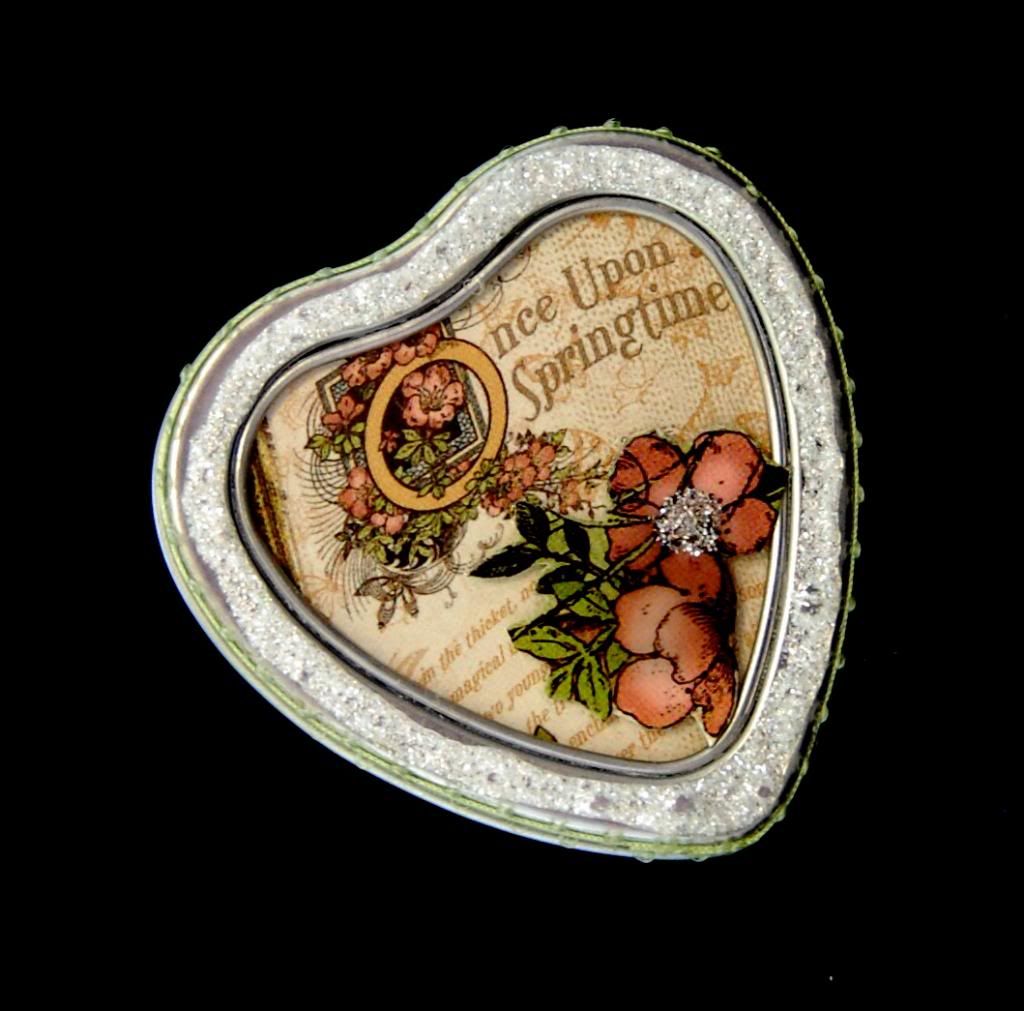
Finally I used more Mod Podge (Kim can order it.) to glue down the Graphic 45 paper to the inside window and then I fussy cut a flower and Mod Podged it to the outside of the window. I used Stickles Diamond to add a touch of glitter around the outside of the heart top and the middle of the flower. I just couldn't get a glittery picture of the Stickles no matter what I did.

Here is the finished box...
Kim has all sorts of products at Cutters Creek to get your creative juices flowing and help you do some upcycling.


Saturday, April 20, 2013

Graduation Card by Michele

 This is my first project as a Designer for Cutters Creek.  I needed to make a graduation card for a co-worker so I made this cute and simple graduation cap card.  I used my Cricut cartridge Wild Card (if you are interested in this cartridge please ask Kim to order it for you).  I just used some black and yellow cardstock paper and then I wrote Class of 13 using a white gel pen.  I added some diamond stickles to the tassel and  on top to give it some bling.

Friday, April 19, 2013

G45 Trinket Box by Laura C

Today is another Graphic 45 Secret Garden project,
and in honor of National Recycling Month, I've done
an upcycle project.  I took a plain little cardboard box 
with drawers, painted it with white gesso, and then
decorated it to make a sweet little trinket box:


I used the 12x12 Secret Garden papers to cover all
the sides, top and bottom, and drawer fronts.  I also
fussy cut the birdcage and flowers on the cage. 

All pieces were inked with Vintage Photo Distress Ink,
and then adhered to the box with Scor-Tape.

I used the Secret Garden sticker sheet (Kim can order)
to add the drawer corners, the "friends" and the 
"buckles" on the top drawer are the upside down
tags from the sticker sheet embellished with 
Want2Scrap pearls.  I added a fancy knob, some 
Prima Fairytale Roses in pink and a bow that is white 
seam binding dyed by simply dragging it across
pads, and then getting it a tiny bit wet using a 
Inkssential Mini Mister and rolling it in a ball.  
I dry it very carefully using a heat gun, but it can 
air dry too with a little patience ;)

The sides were decorated with stickers and bling:


Hope you enjoyed this little upcycle post, and a little
teary knowing it's my last post for Cutter's Creek.
I've been on the team for a number of years, and 
thought it was time for me to step down.  I have a
 lot of fun things happening, and have only so many
hours in a day!....lol.  I'll miss posting, but I plan
on still visiting with everyone....stopping by often,
 maybe even drop by with a post now and again 
and I will always welcome visitors to my blog:
 http://scrapaddict4life.blogspot.com/

Thanks everyone for your support, sweet comments,
and especially to you Kim....for being a wonderful
"boss" but definitely a friend all these years! 

Thursday, April 18, 2013

Asian Gift Box with Lori

Today I have a different kind of gift box to share with you. The other day I used a new cut file for an Enchanted Lantern, and I decided I just HAD to make the open-window version, but with a twist. I basically closed up all of the windows and turned the "lantern" into a gift box.  With Mother's Day fast approaching, a small box like this is always handy for an elegant presentation of a gift card to a favorite store or lunch spot. At any rate, I was excited to measure the window openings and discover that the "trading card" images on my 8x8 Grraphic 45 paper pad fit almost perfectly.  Here's what I did:


Even though the lantern itself is not an Asian style, I think it lends itself wonderfully to these papers. And would also look wonderful with many other G45 papers, due to its simple style. Since I was planning for Mother's Day, I chose 4 images and words I thought fit the theme well.  I used the Pagoda Cricut cartridge to cut the Kanji words to match each picture. The "photos" are all from the 8x8 paper pad, and the script paper forming the main box of the lantern is from the 12x12 pad.

"Mother"

"Wisdom"  
"Happiness"  
"Beauty"  
For some added dimension, the "photos" were adhered behind the windows with two layers of the ASI Kool Tak clear adhesive squares. I also added a frame around each opening with Distress Stickles in Fired Brick. I added additional Stickles dots along the base of the lantern on all sides.


As a helpful hint, since the Kanji characters are fairly intricate and I was cutting at only 1", I cut them from vinyl instead of paper.  It made them easier to cut and adhere to the shadow base. I then added more Stickles over them to tie in with the rest of the lantern.  The shadow is cut from metallic cardstock.  The American Crafts Specialty Cardstock - Foil is a great option for this.

Here are the Cutters Creek supplies I used for this project:

Other supplies:
  • black cardstock, suede texture
  • gold metallic cardstock
  • Pagoda cartridge for Cricut
  • Cricut indoor vinyl
  • Enchanted Lantern cutting file from Creations by AR
If you'd like to see the lantern project that inspired my box, you can see the 4/16 post over on my blog.  That's it for today - thanks for stopping by!

Wednesday, April 17, 2013

Sweet Shop Box

I am very excited today. This is my first post as part of the Cutters Creek design team. I love to decorate my bay window in my kitchen so when I saw the cute sweet shop box on the Cricut Sweet Tooth Boxes cartridge I knew what I had to make. (Kim can order this cartridge for you.)

I cut the box at the cartridge recommendation of 10 inches.


I had fun making this box with different papers. The roof and accents are My Mind's Eye Nostalgia paper and if you look closely in the windows you'll see a fairy and Mrs. Rabbit and her little ones. These pictures are from Graphic 45.
I used different colored Stickles glitter glue to add bright color, glitter and texture to the grass, windows, and flower. I used Liqued Pearls for the door handle and sweet shop sign.

Before adding on all the pieces and accents, I used Tim Holtz Distress Ink Pad - Tea Dye to smug the edges of the box and the accents I cut out.

I used Scotch quick-dry adhesive to glue the box together. This is my go to glue because it drys quick and is strong.

This is such a fun spring/summer box to make and use as a decoration and it goes so lovely with all my other knick knacks in my window.

Monday, April 15, 2013

Happy Birthday Card by Deanna M


For my project today I am sharing the birthday card I made for my mom who's birthday is later this month.

My card base is a cream card stock cut and scored to make a 4 1/4" X 5 1/2" card base. All of my paper is from the Secret Garden paper pads by Graphic 45. I used papers from both the 8" X 8" and the 6" X 6" paper pad. I cut a purple mat at 4" X 5 1/4" and then cream paper at 3 3/4" X 5". Next I cut a mat using my Silhouette Cameo. I cut the shadow at approximate 3 1/2" and the base layer at 3". I ran the cream scalloped through my eBosser and embossed it with the Swiss Dots Cuttlebug folder. (If I could only have one embossing folder the Swiss Dots folder would be my choice. It is so versatile.)

I inked all my mats with some Tea Dye Distress ink and a sponge dabber.  I had a piece of cream lace with pearls on it that I used a paint dabber to apply some of the Tea Dye distress ink to.  I applied the lace to my card with some Scor-Tape.My dress and hanger are a Memory Box die. (No Kim can't get these yet, but I keep asking her! One of these days soon I hope she can). I cut my Hanger from some Kraft card stock and then inked it with some of the Tarnished Brass Distress Stain. (Distress Stain is a special order item, but don't hesitate to ask). The pearls I added to the waist of the dress are some I cut off from the lace. I adhered the dress to the scalloped mat with some foam tape.

I cut 6 flowers using the George and Basic Shapes cartridge and inked them with some of the Shaded Lilac distress ink. I used my Petal Roller by Imaginisce to make my roses. I hot glued the layers together. My leaves were cut at 1" and are from the  Flower Shoppe cartridge (Heart). I inked my leaves with Peeled Paint distress ink and a sponge dabber. I also creased the center of the leaves and inked them with the Peeled Paint distressed ink to create a center vein in the leaf. I adhered the flowers and leaves to my card with some scotch quick dry adhesive.  I added a pearl to the center of one rose using some bisque liquid pearls.

 I stamped my sentiment with some Rich Cocoa Memento ink. Lastly I added a small butterfly from my stash.


Related Posts with Thumbnails